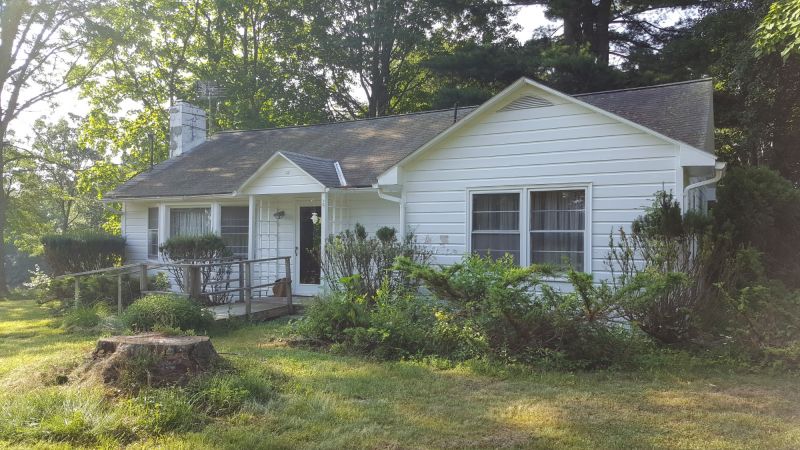
The front of the original house at 66 Strohmeier Lane in East Taghkanic, New York, built by Linda's father and grandfather in 1955
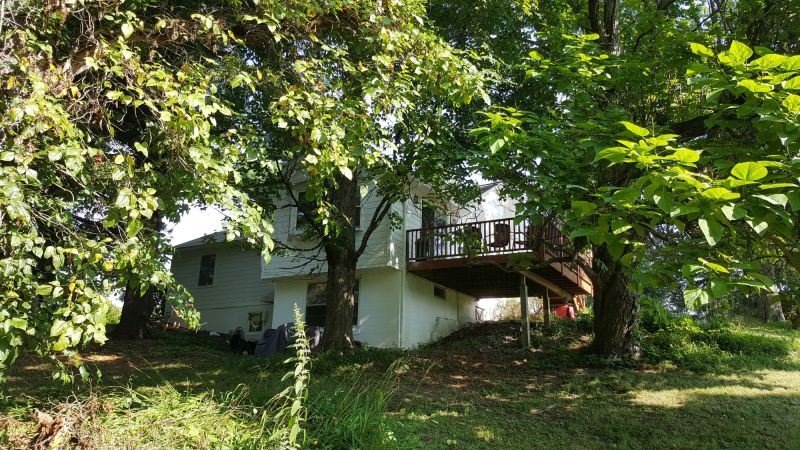
The back of the original house
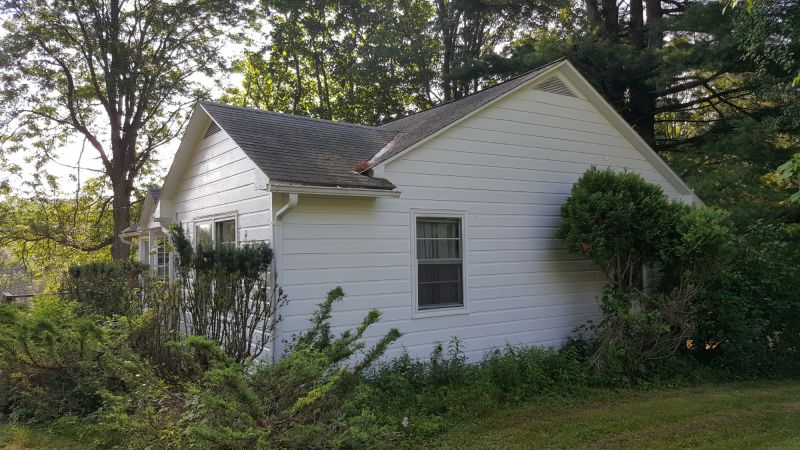
The side of the original house
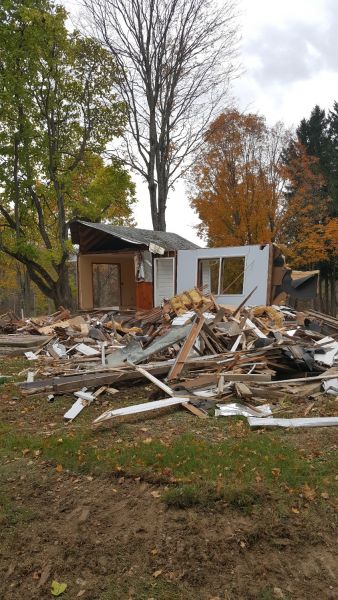
We learned that it would be too difficult and costly to make the house as comfortable as it once was and that new construction would be preferable. This is the beginning of the house's demolition. It took place on October 16, 2019.
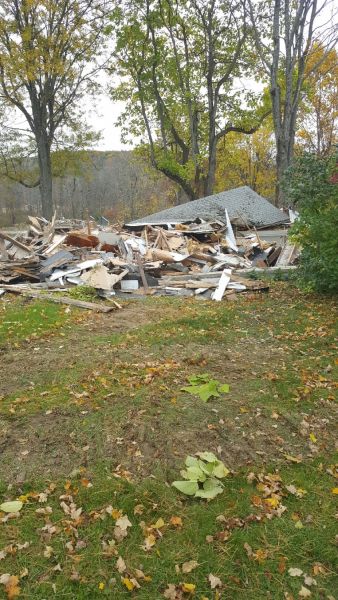
Continuing the demolition
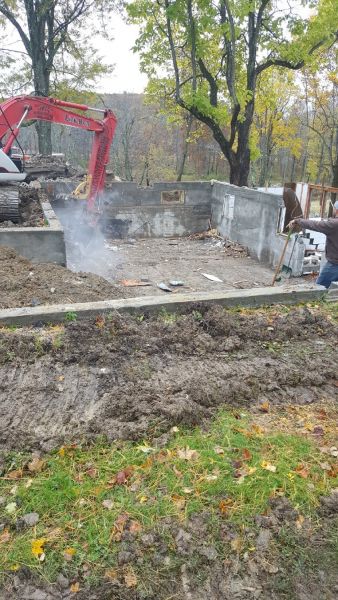
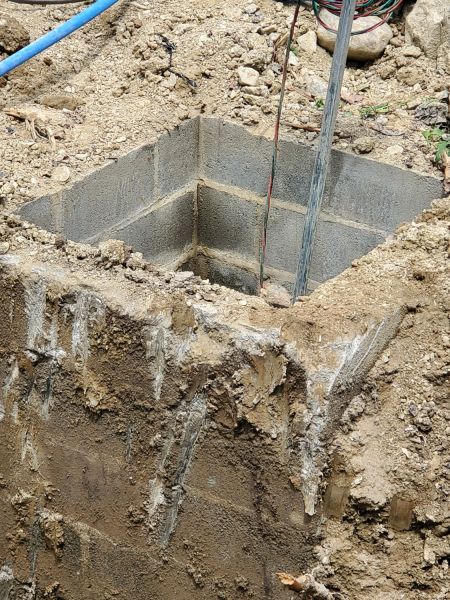
Working on the foundation
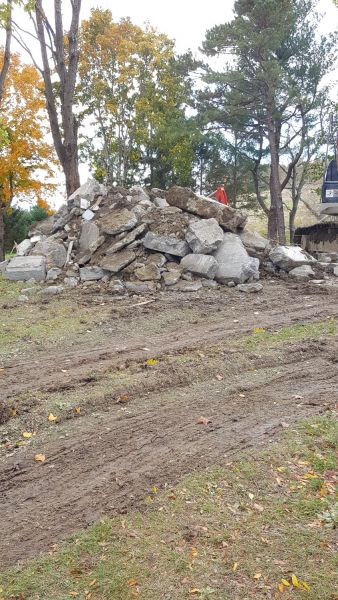
Concrete from the foundation ready for disposal
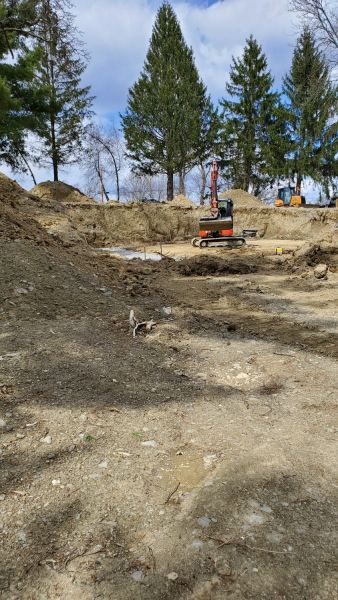
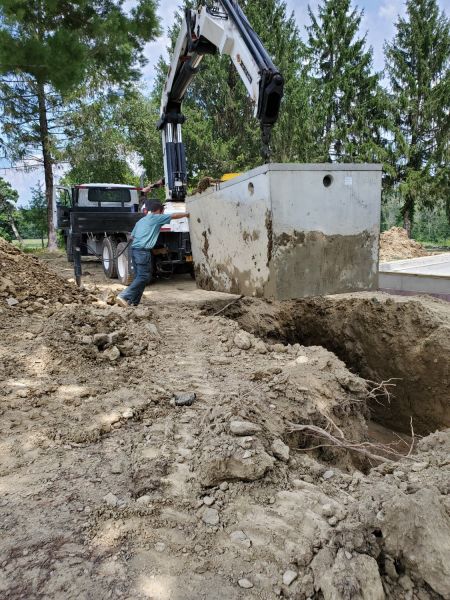
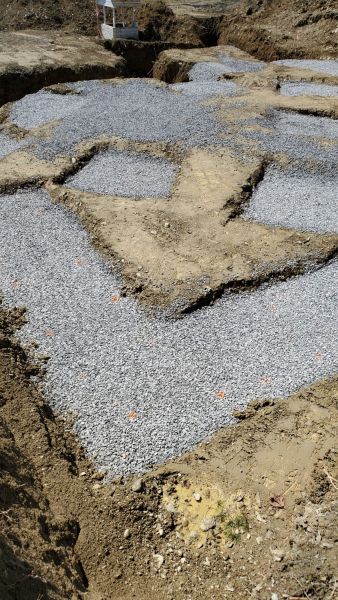
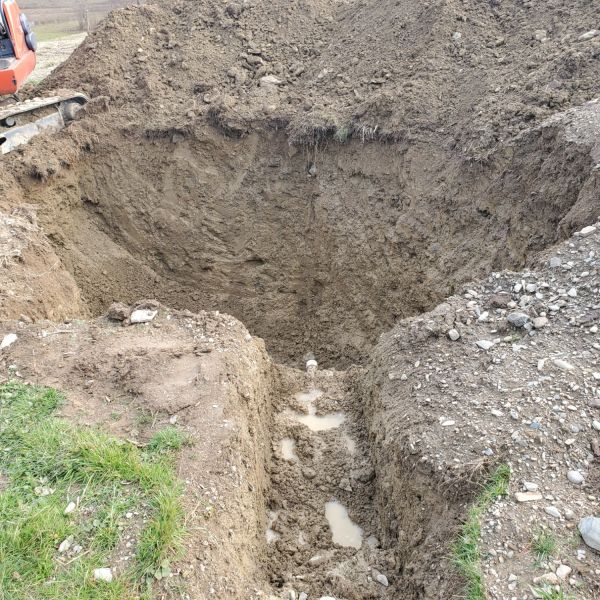
The excavation of the site
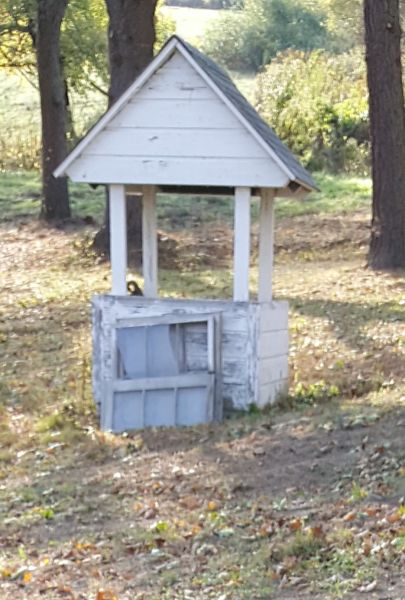
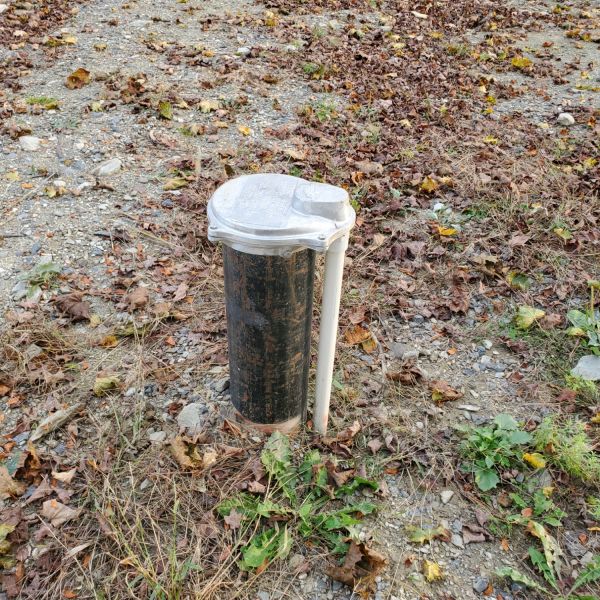
The old water well exposed
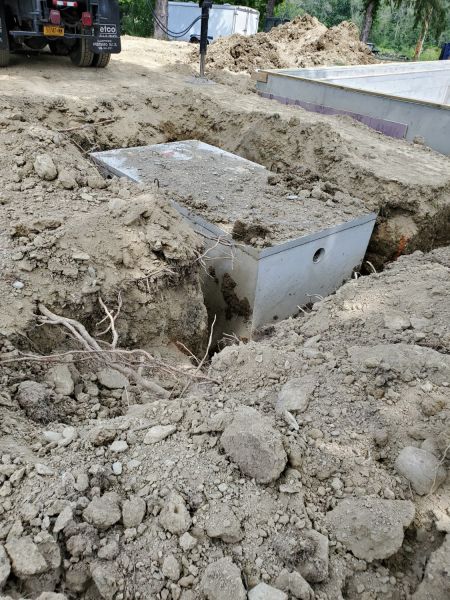
Placing the septic tank in its location
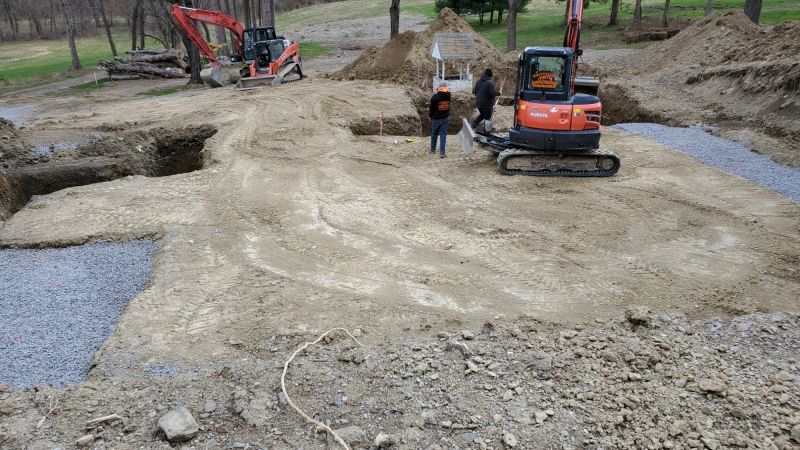
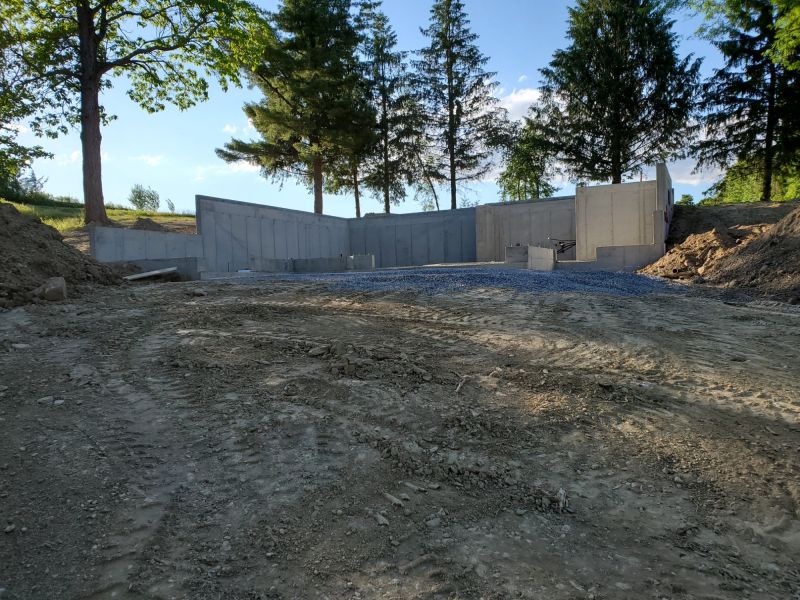
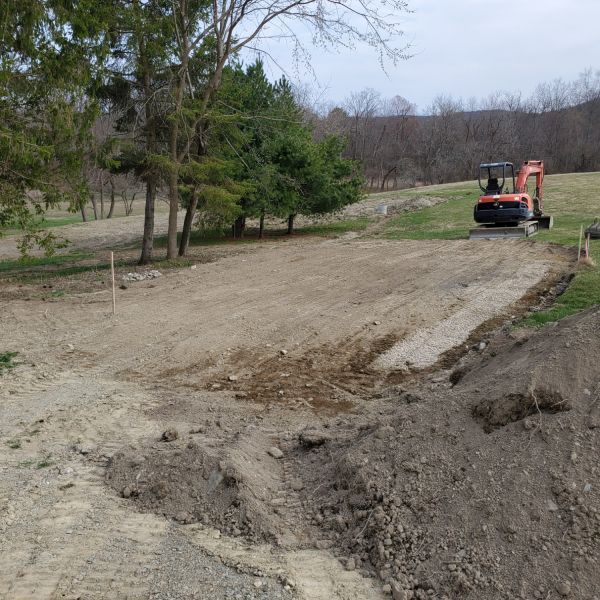
Preparing the site for the house
Continuing to prepare the site
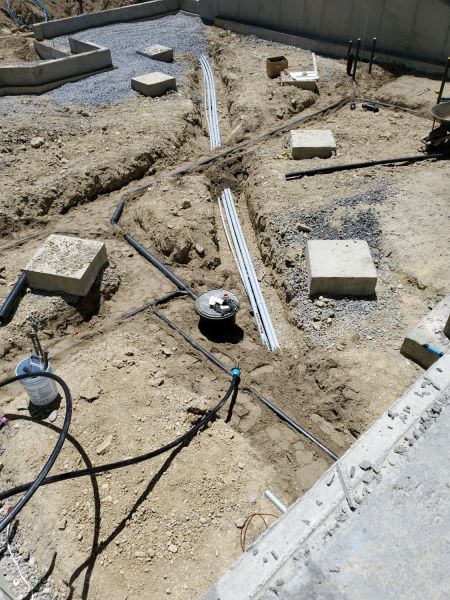
Running wires, tubes and pipes
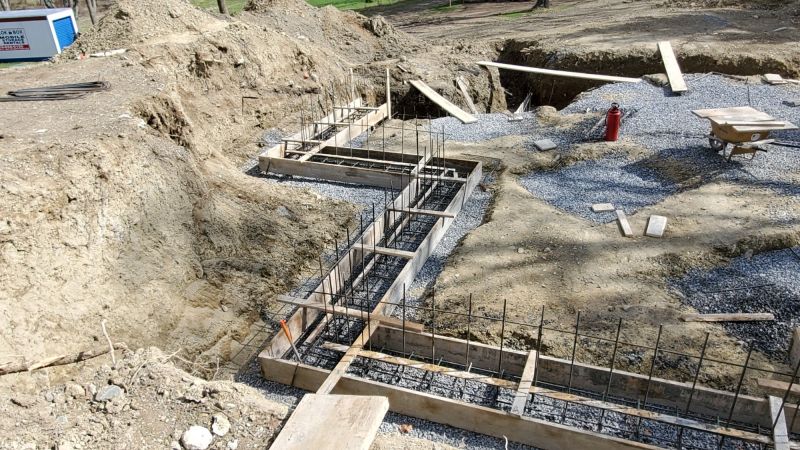
The foundation base forms filled
Filling the foundation concrete forms
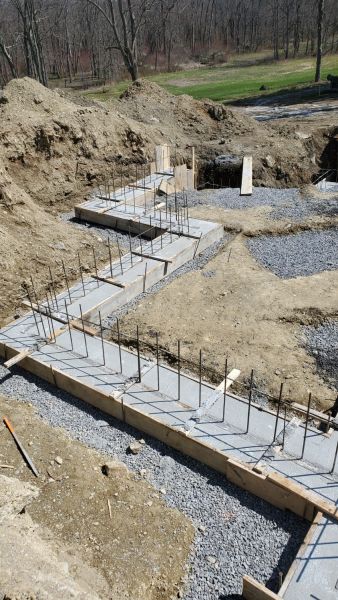
Concrete forms for the foundation base
The foundation forms ready for concrete
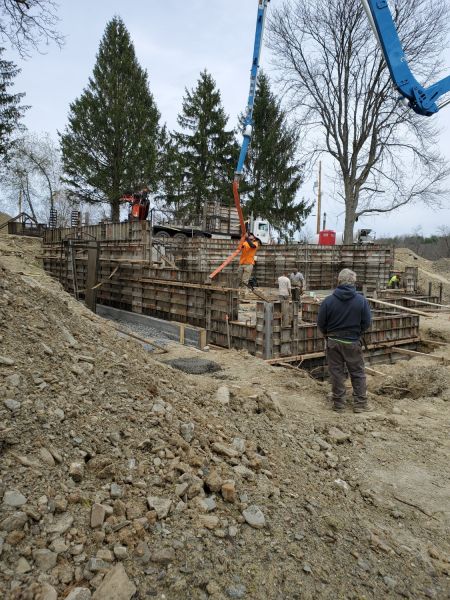
Filling the form with concrete through a chute for the foundation
The foundation forms filled
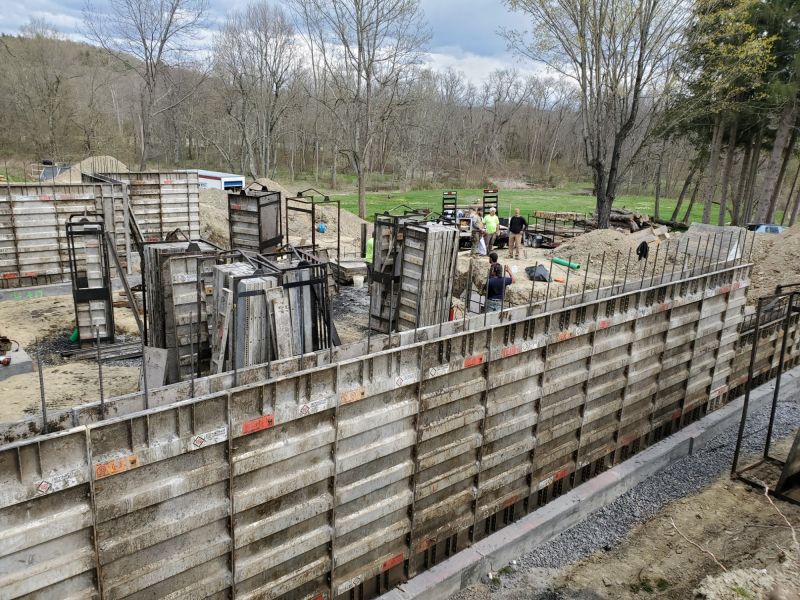
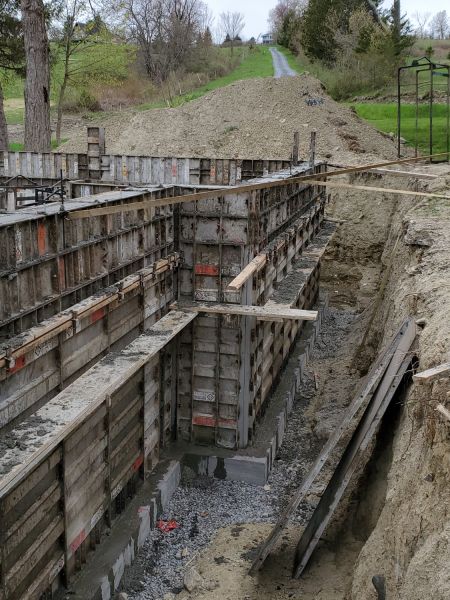
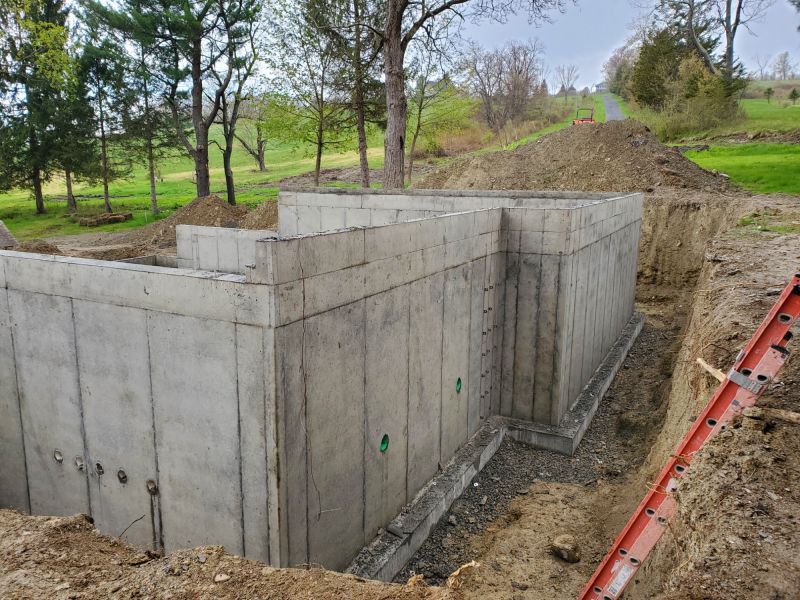
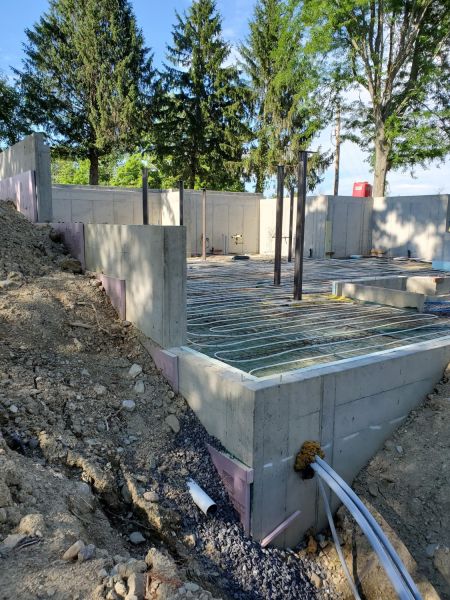
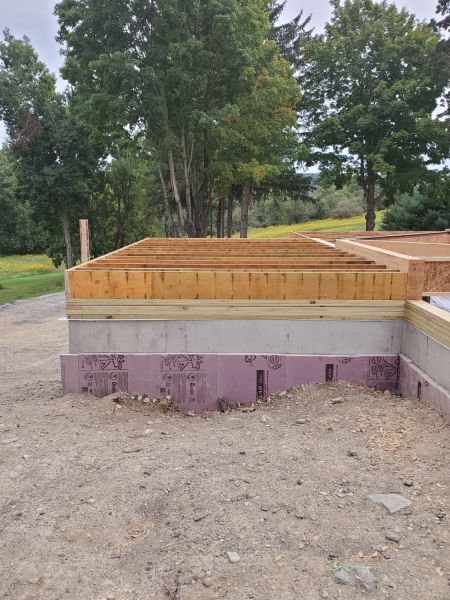
The north foundation wall
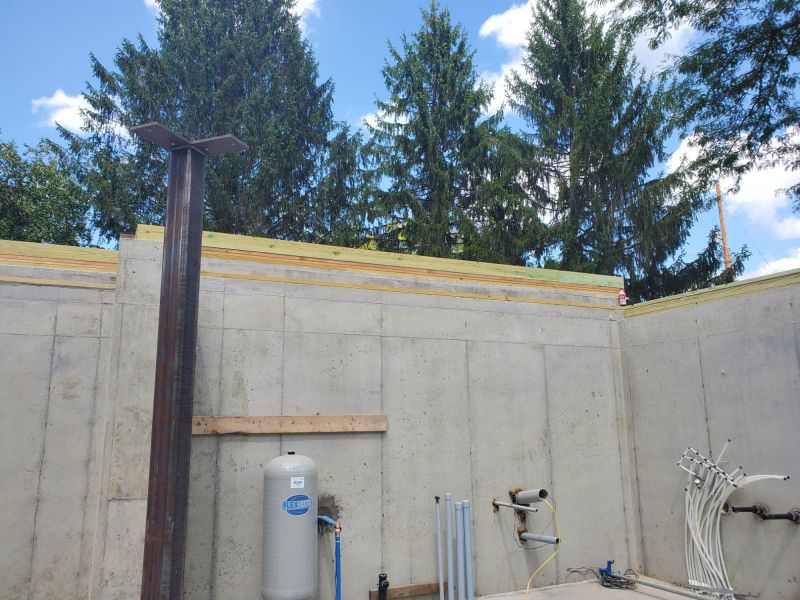
The north foundation wall, covered by insulation as was the rest of the foundation
This is the part of the basement where the utility (or mechanical) room will be. Wires and tubes and pipes are being brought into the area.
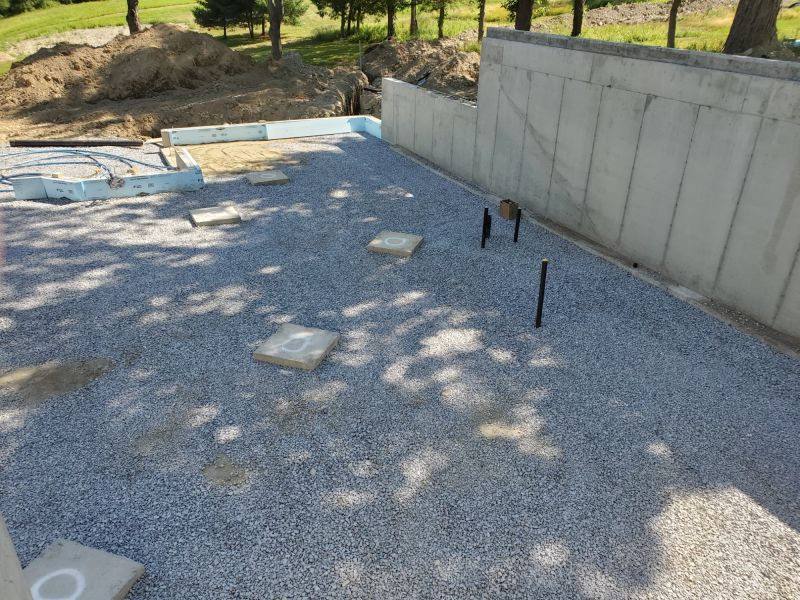
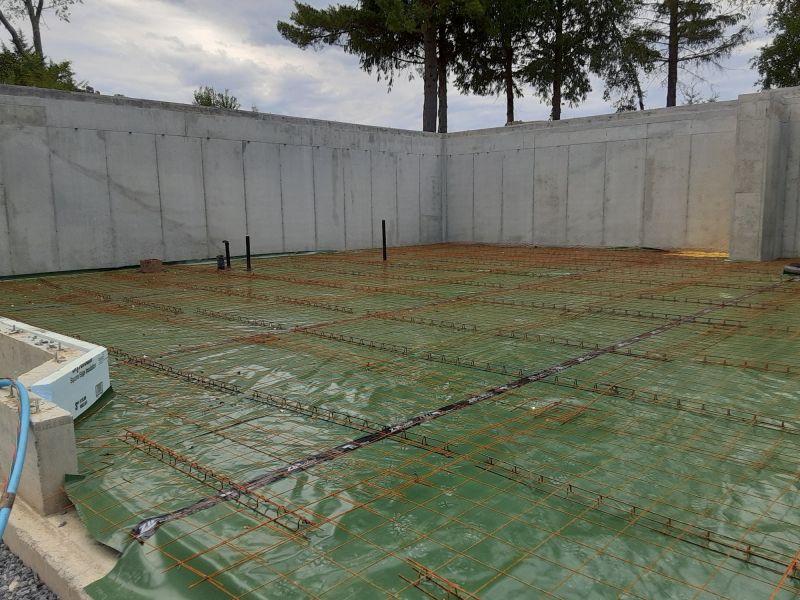
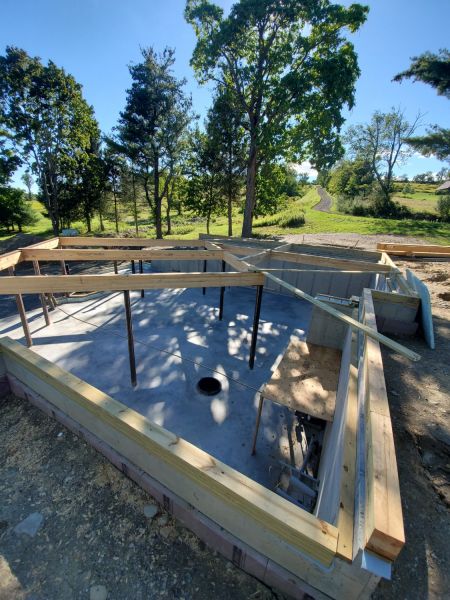
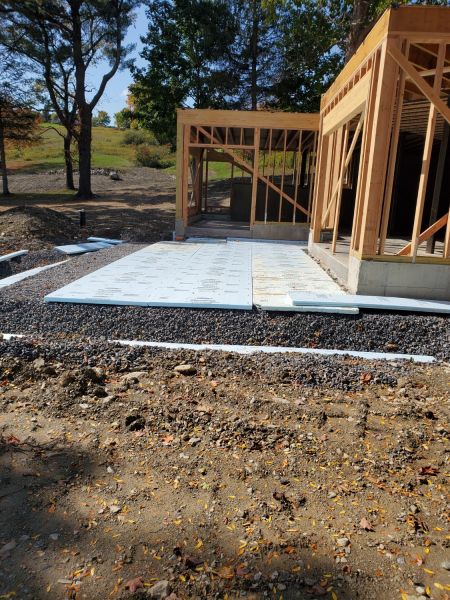
Preparing the basement floor
Covering the basement floor with insulation
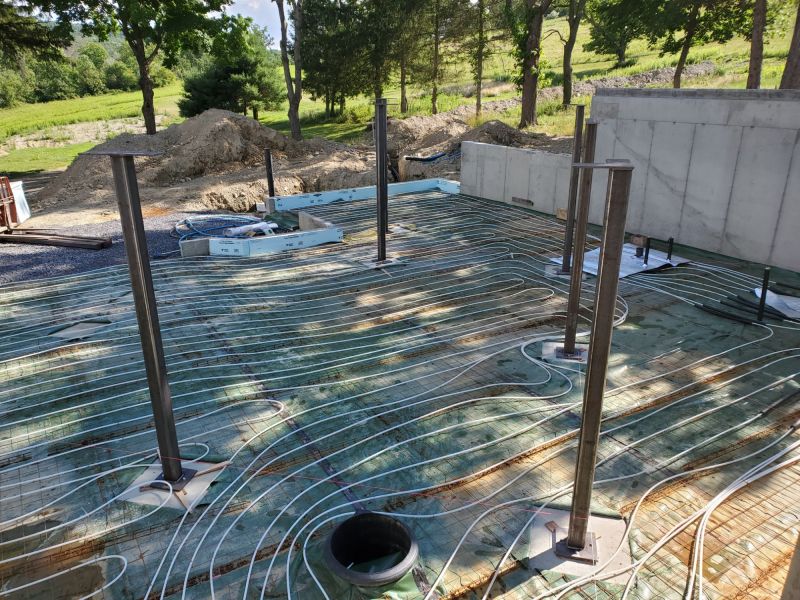
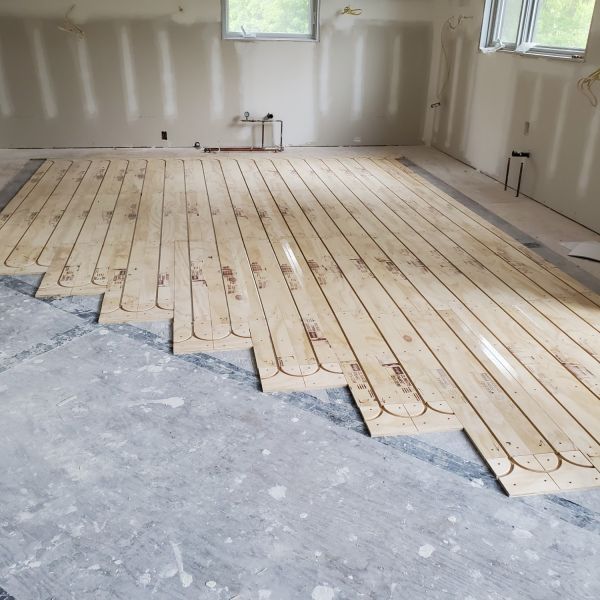
Adding radiant heating tubes to the basement floor
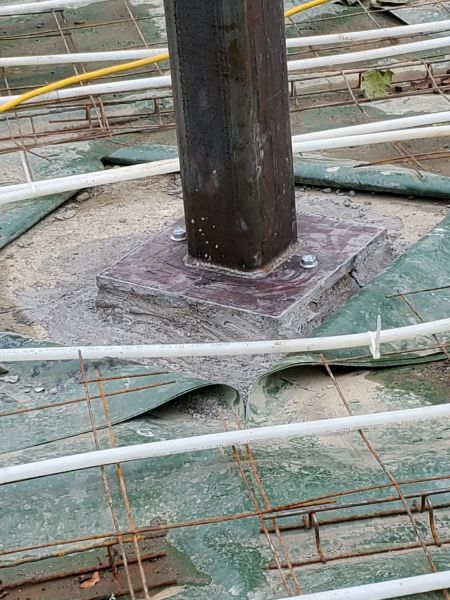
Structural steel posts in place within the radiant tube covered basement floor
Structural steel posts bolted and shimmed
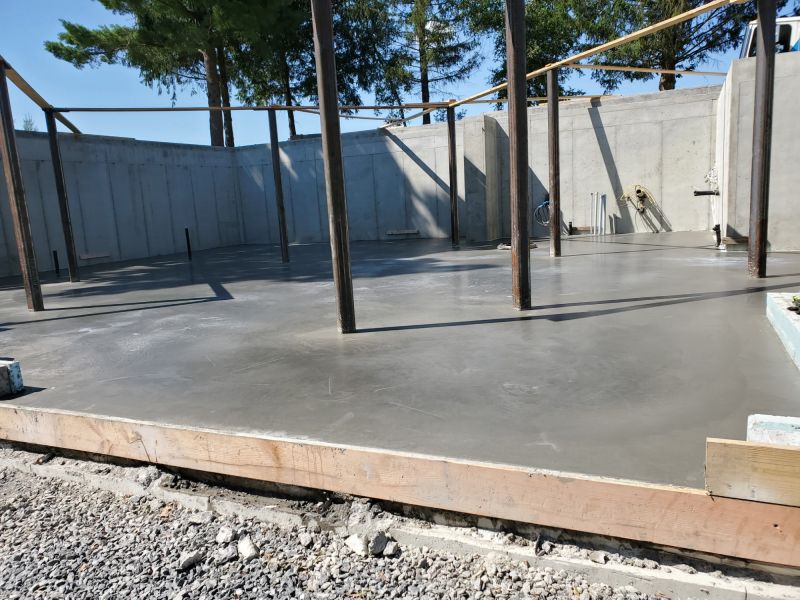
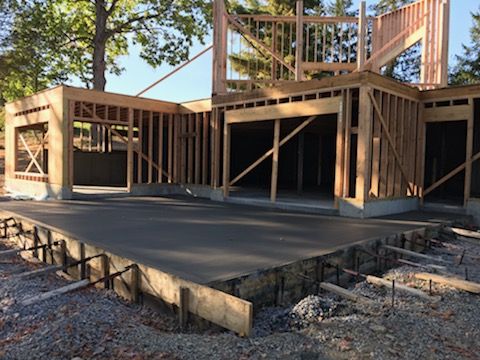
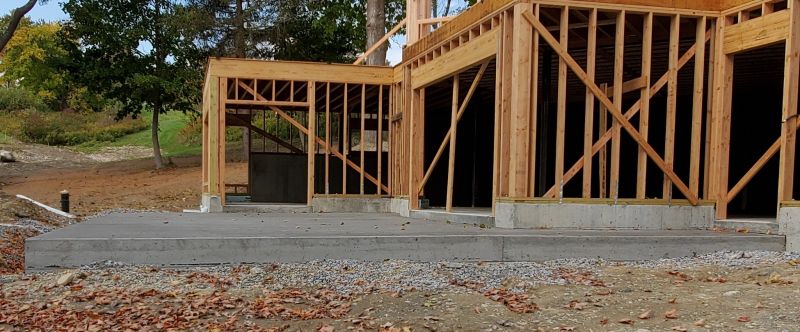
Concrete on the basement floor completed
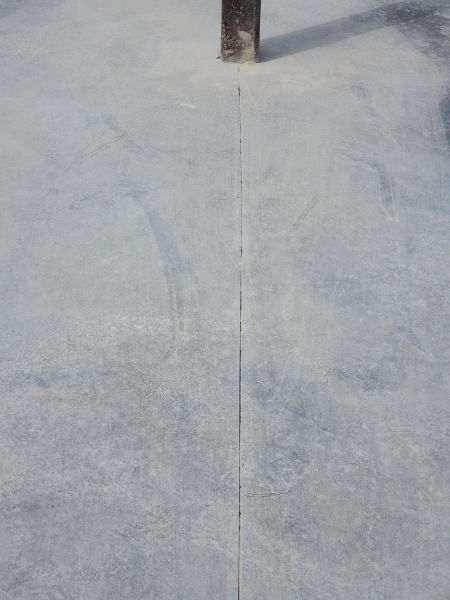
Adding cuts on the concrete floor to prevent cracking. The cuts will be covered by the walls and, consequently, will not be seen.
Steel posts with beam framing
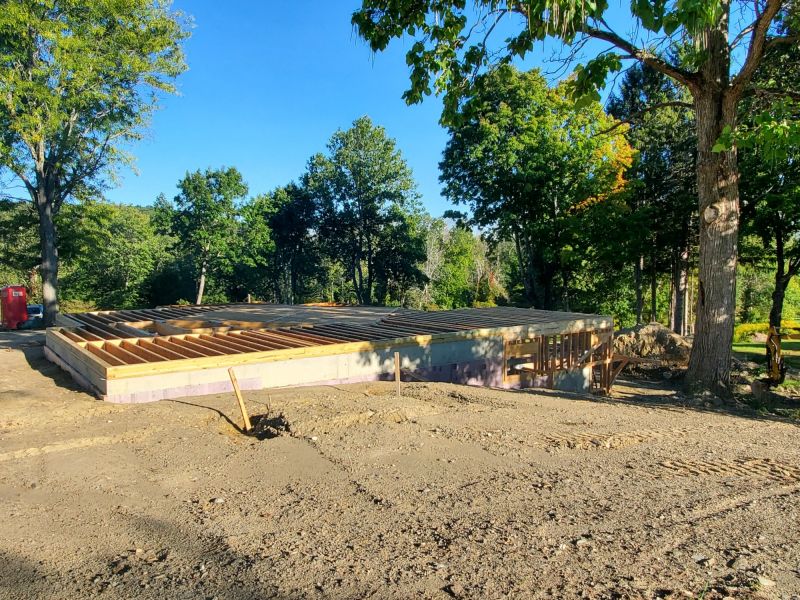
Floor joists set on beams
Floor joists on the deck on the east side of the house
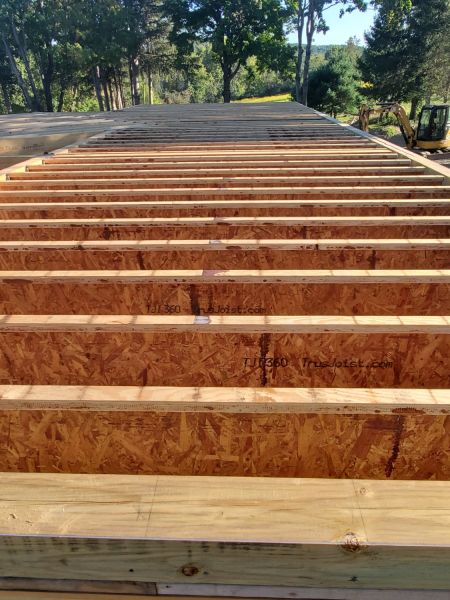
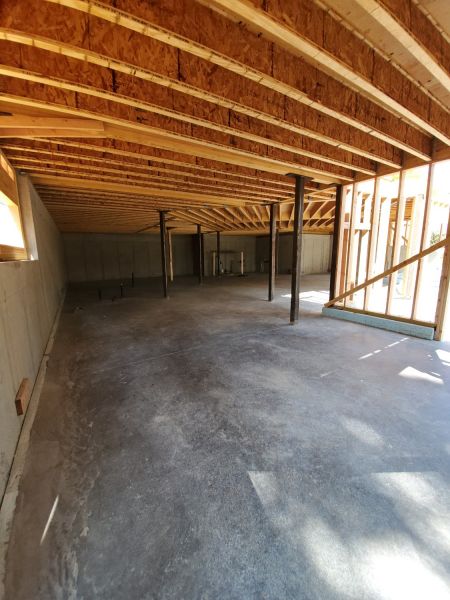
The finished basement floor with exposed floor joists - west side
The finished basement floor with exposed floor joists - east side
Framing on the east side of the basement
Framing on the south side of the basement (eastern portion)
Framing on the south side of the basement (western portion)
Framing on the west side of the basement
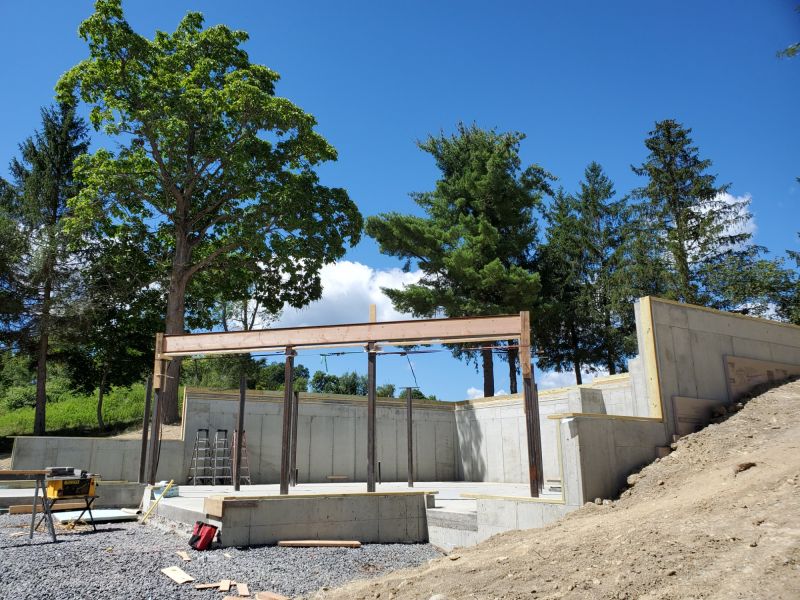
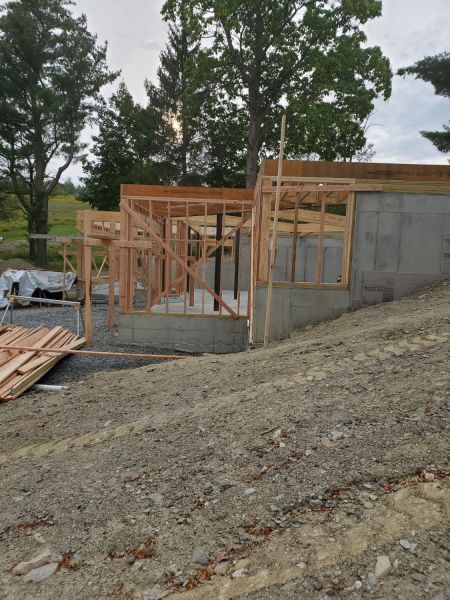
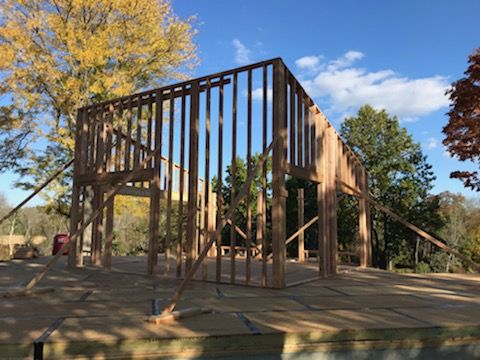
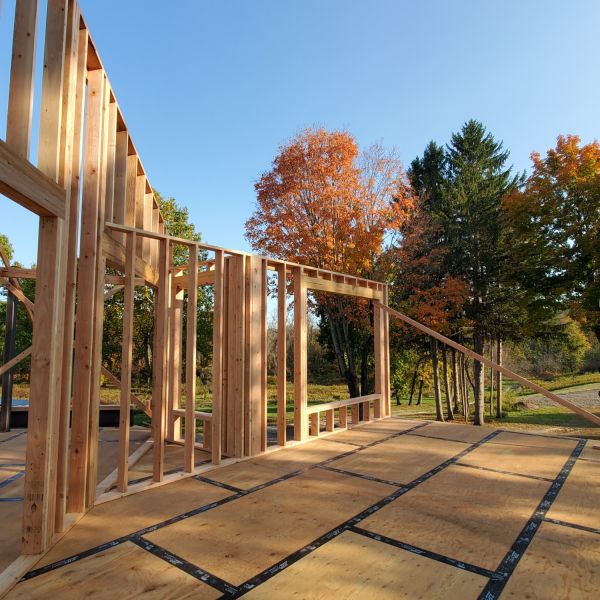
The beginning of the construction of the upper level
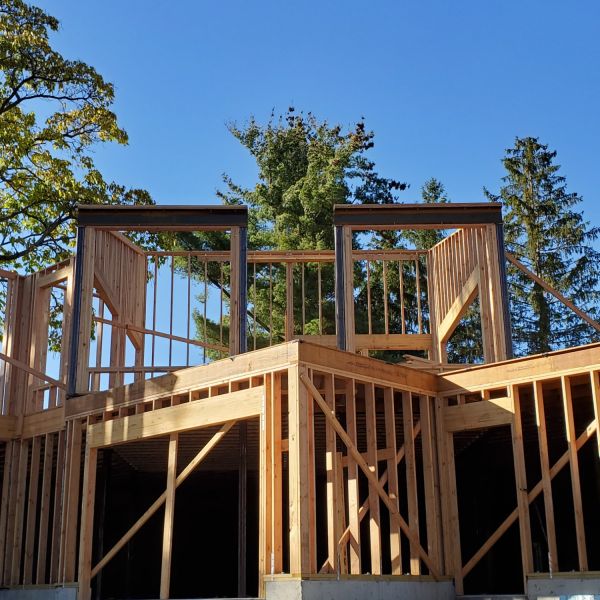
Framing continuing on the north and west sides of the living room/dining room area
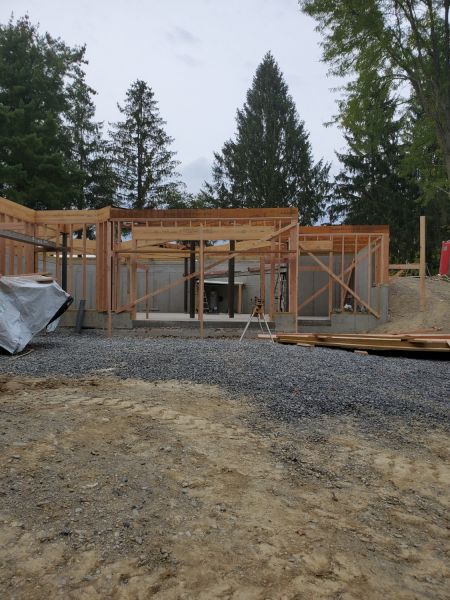
Framing on the east side of the living room/dining room added
Framing on the south side of the living room/dining room
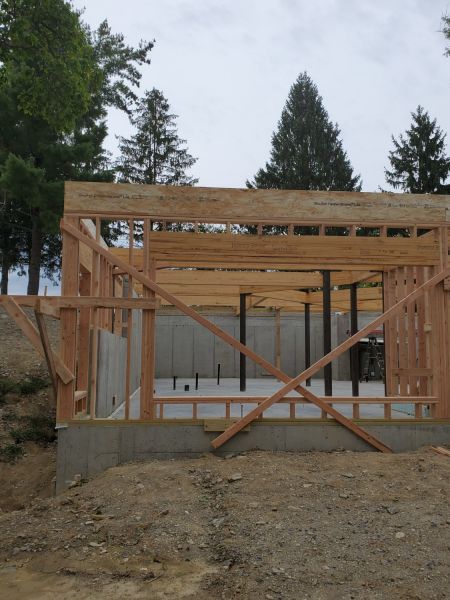
Framing the east wall of the bedroom
Framing the south wall of the bedroom
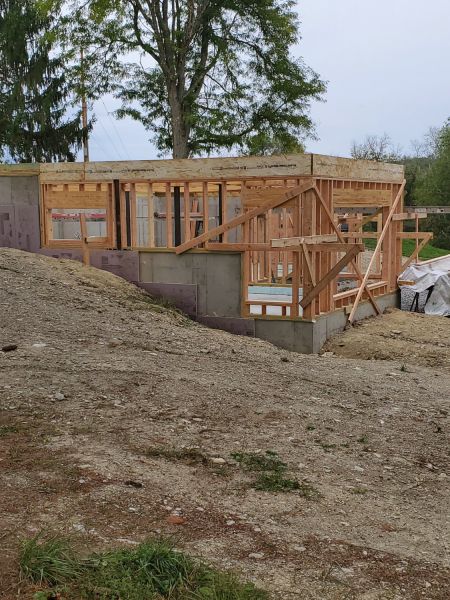
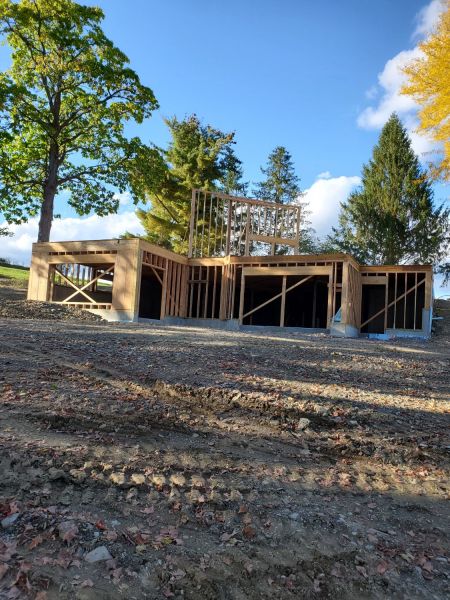
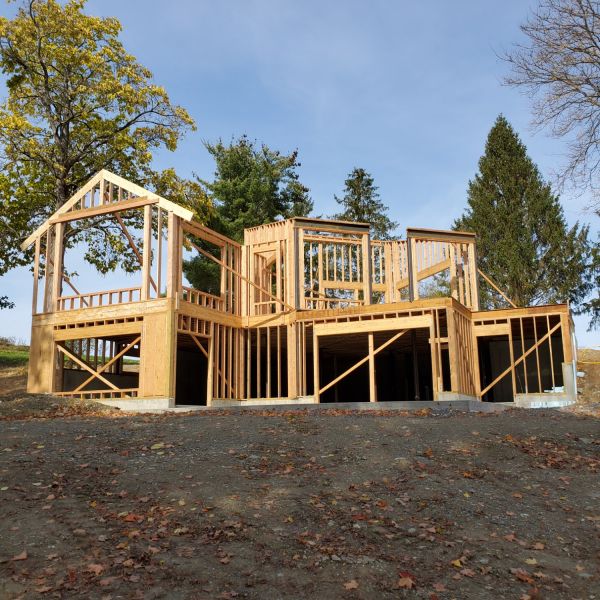
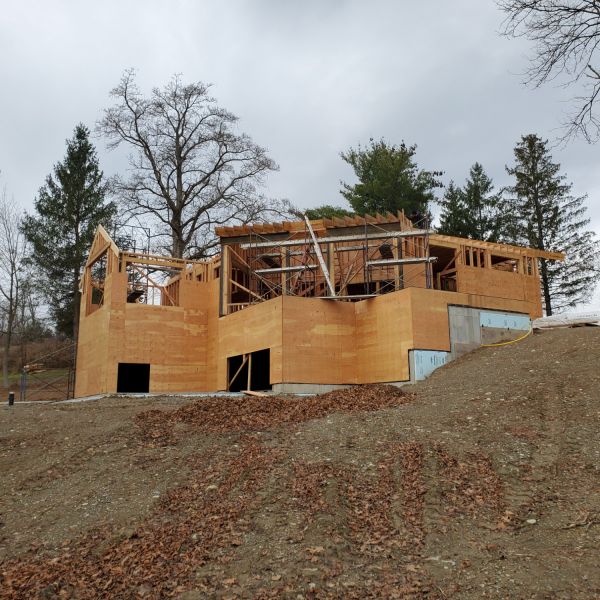
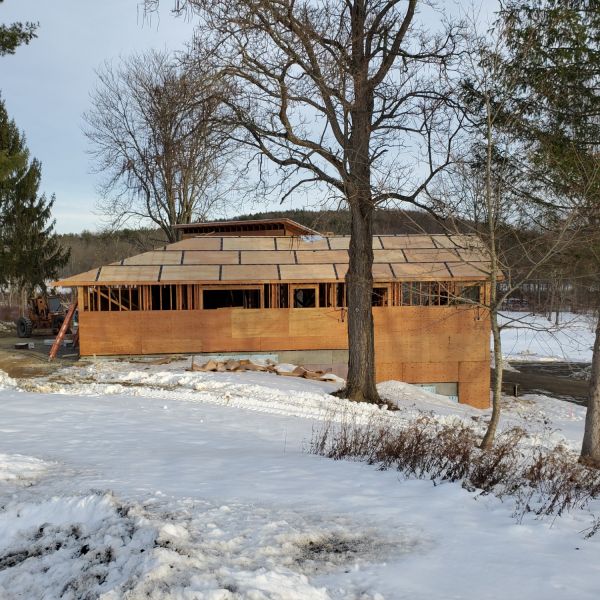
View of the south side of the house 10/16/2020
View of the southwest side of the house 10/23/2020
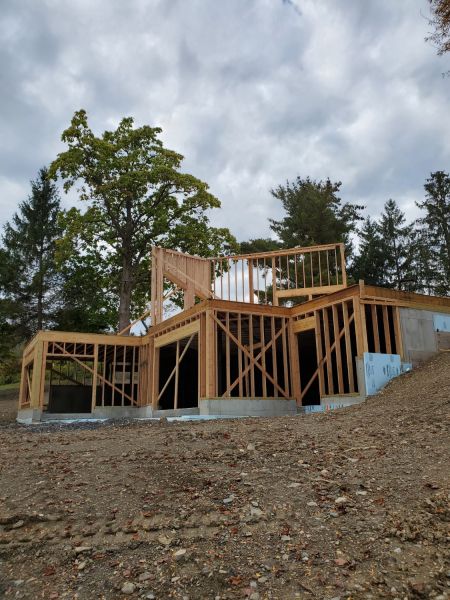
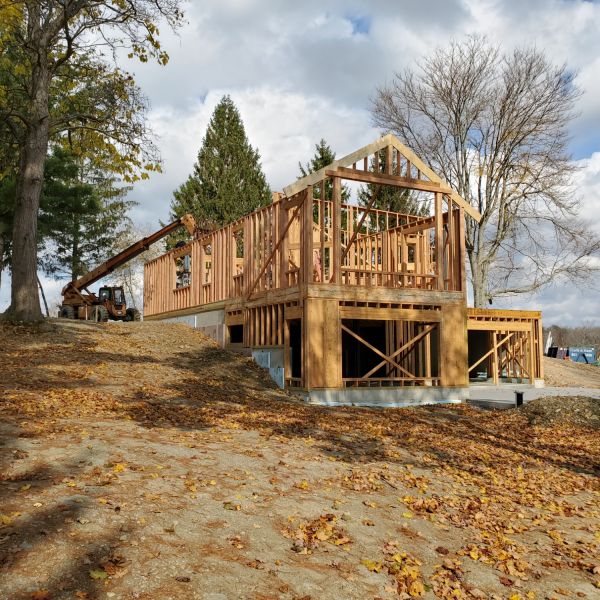
View of the southeast side of the house 11/17/20
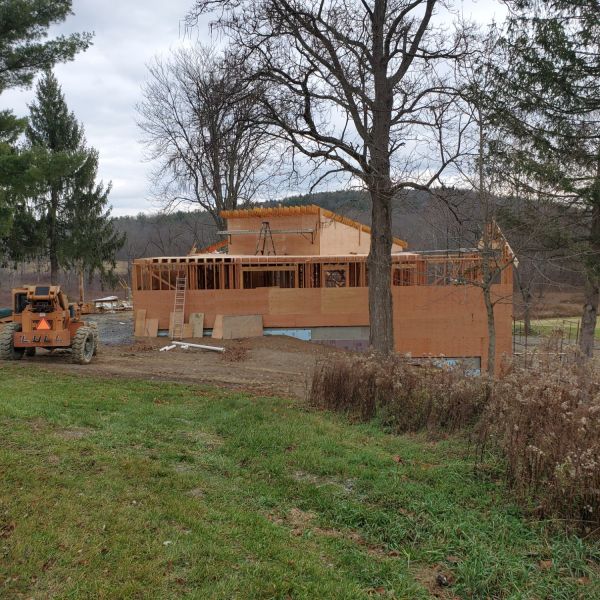
View of the west side of the house 11/17/20
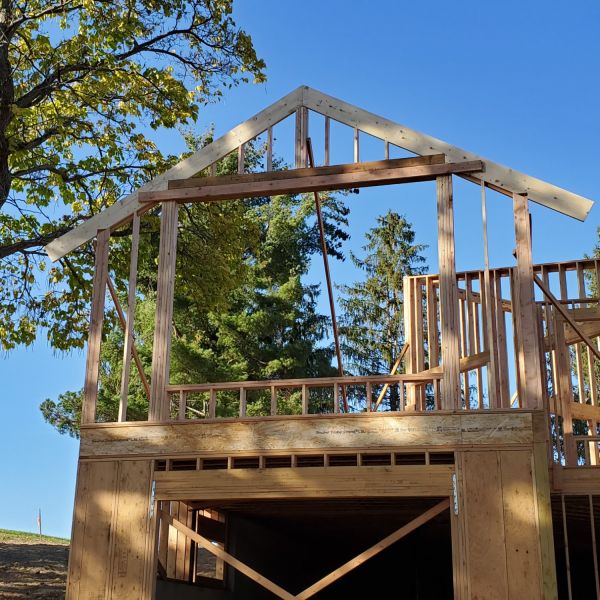
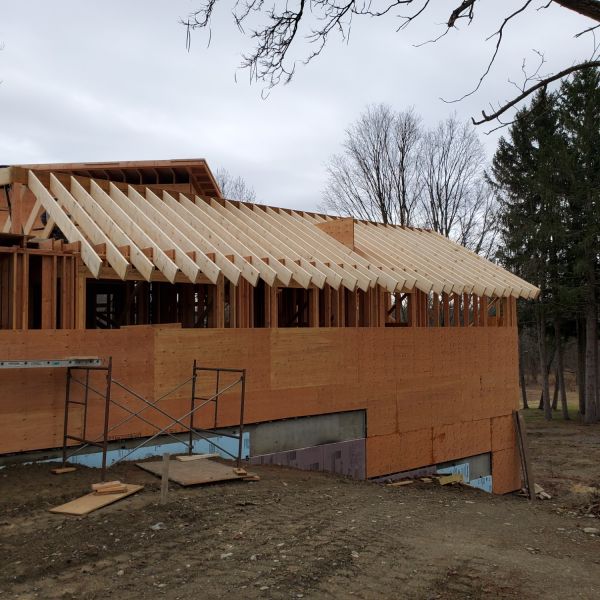
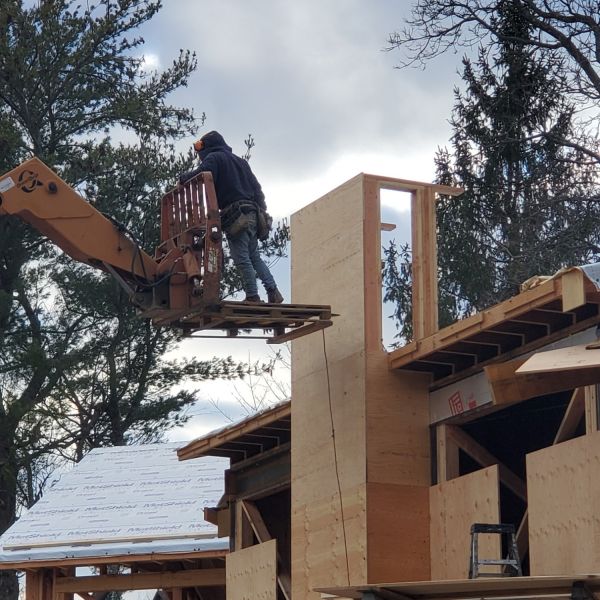
Rafters on the west side of the house 11/27/20
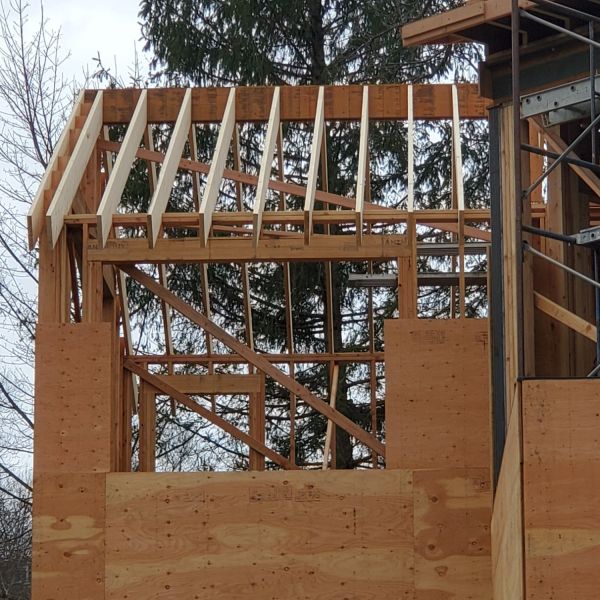
Rafters over the bedroom on the south side of the house 11/27/20
Preparing for the construction of the chimney
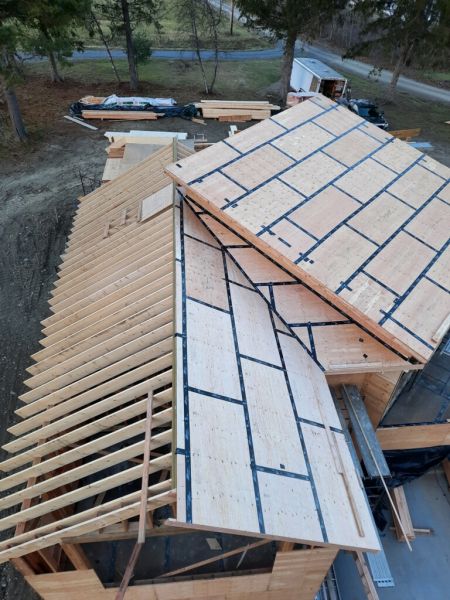
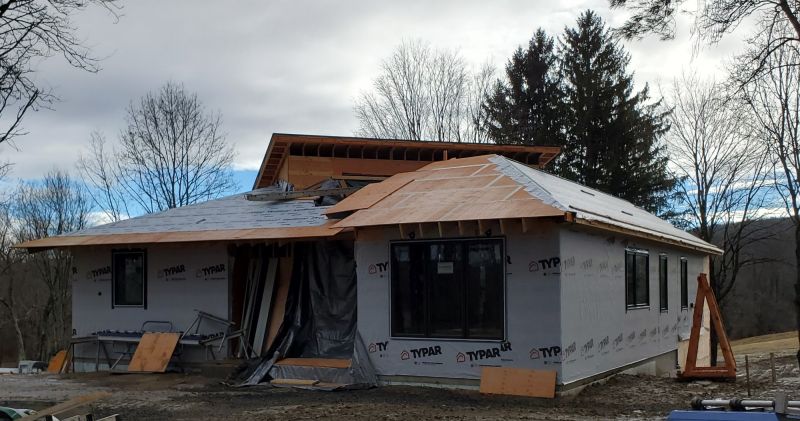
The roof from above 12/04/2020
The roof taking shape 12/04/2020
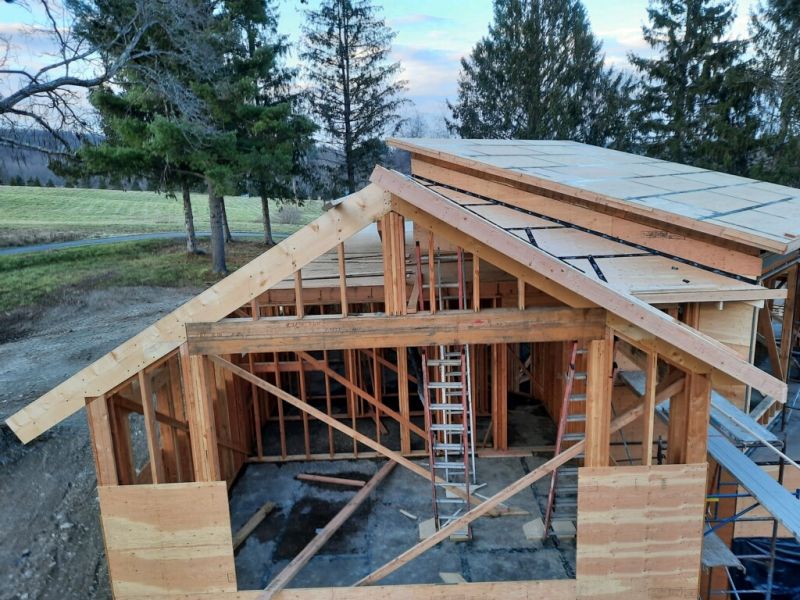
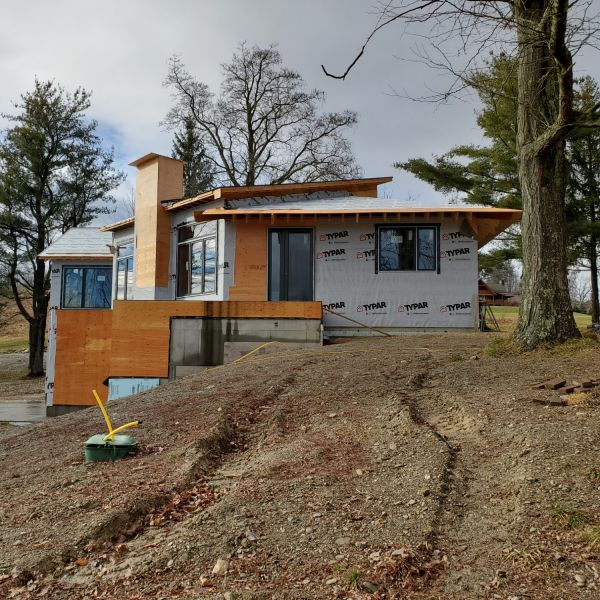
South side of the house 12/23/20
The west side of the house 12/23/20
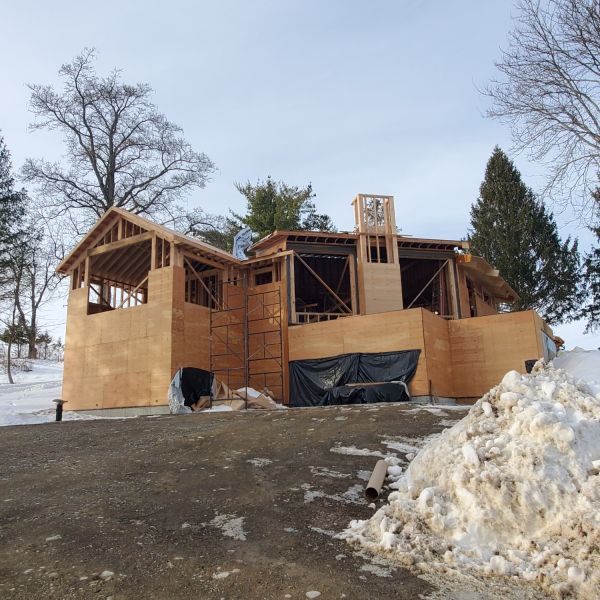
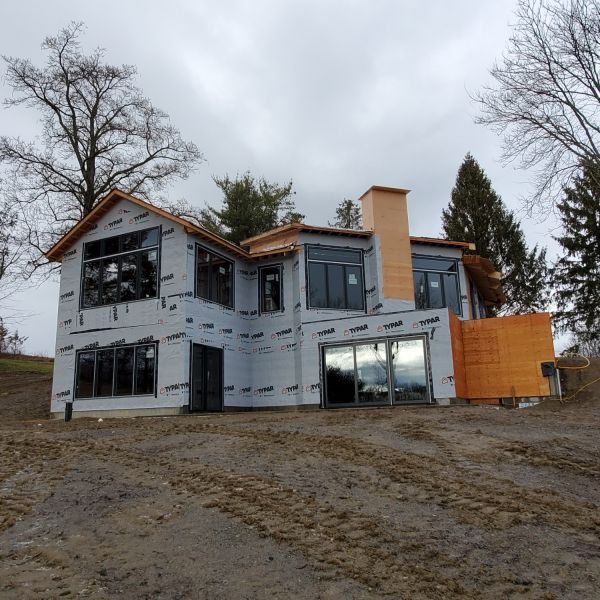
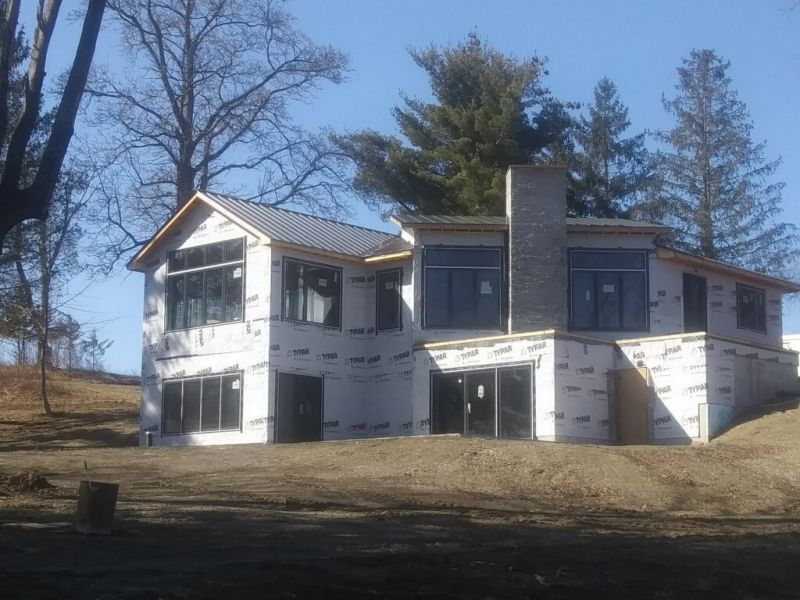
The south side of the house 1/2/21
The east side of the house 1/2/21
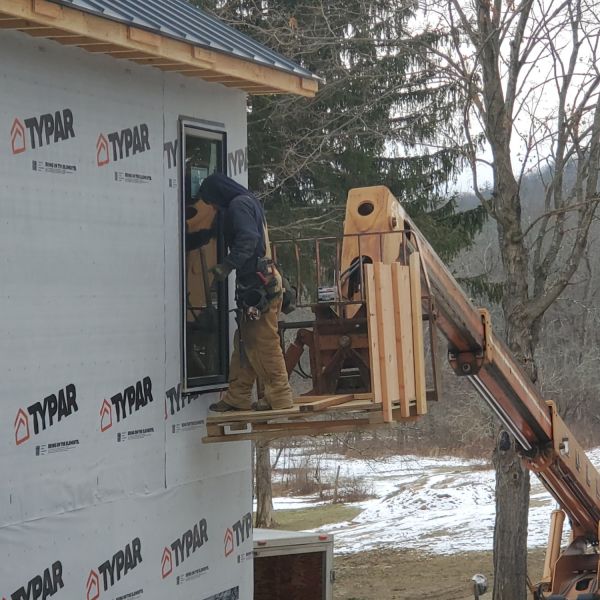
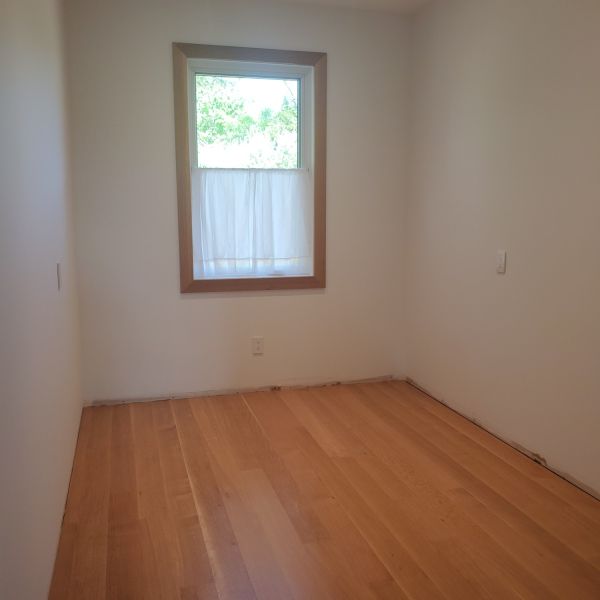
Installing the final window on the west side of the house from outside
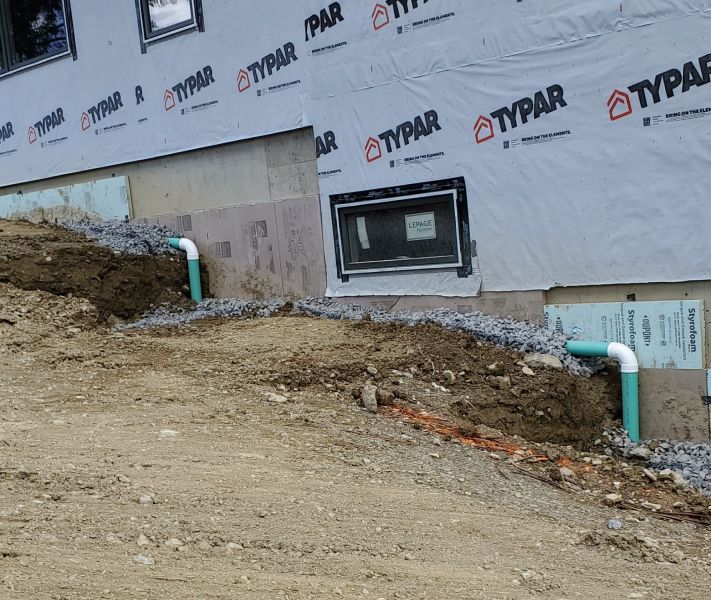
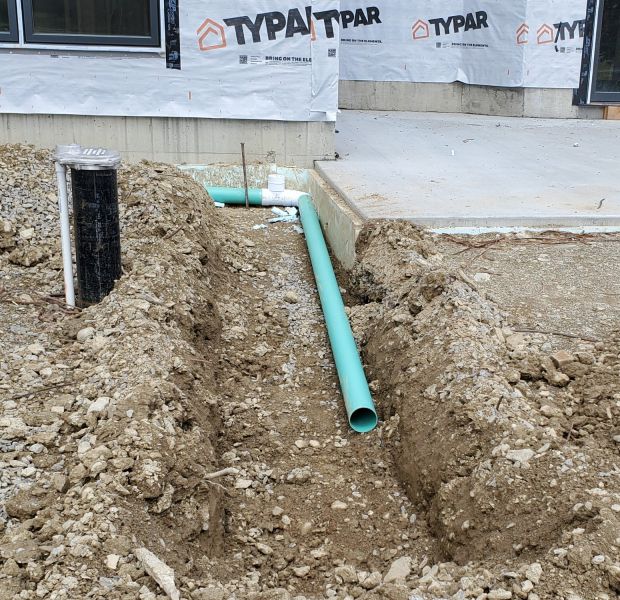
Extending the drain pipes
The north side of the house 1/2/21
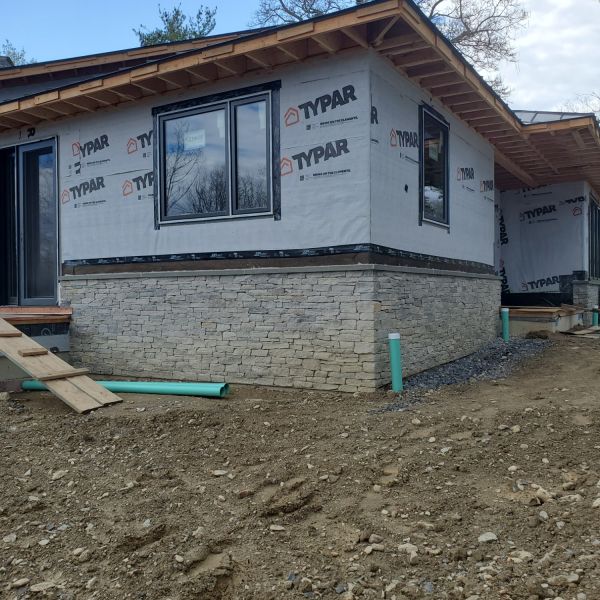
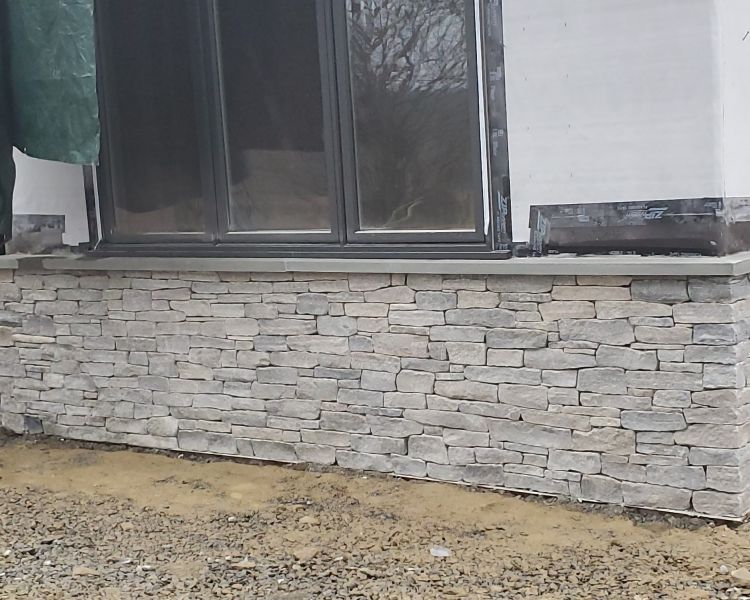
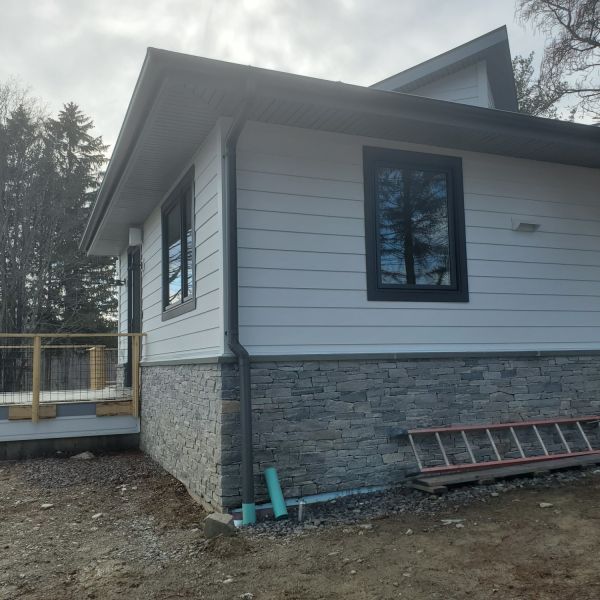
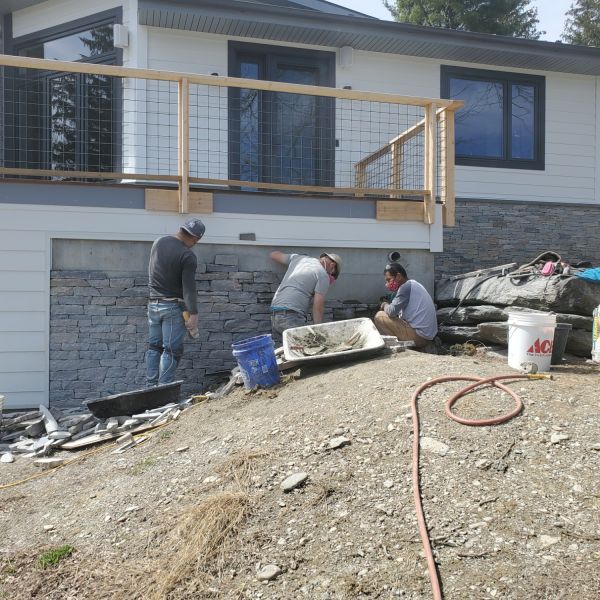
Stonework on the northeast side of the house 1/25/21
Stonework on the northwest side of the house 1/25/21
Stonework on the east side of the house 1/25/21
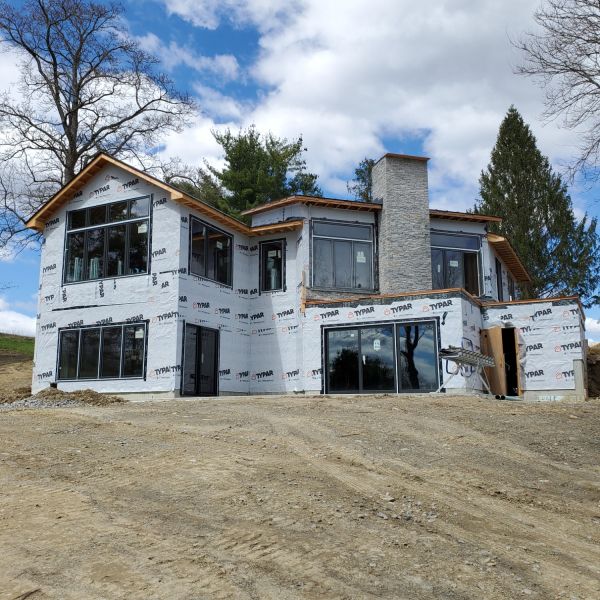
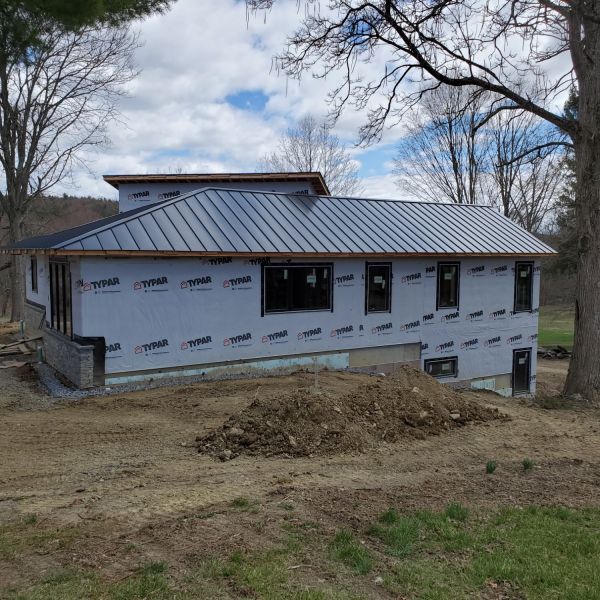
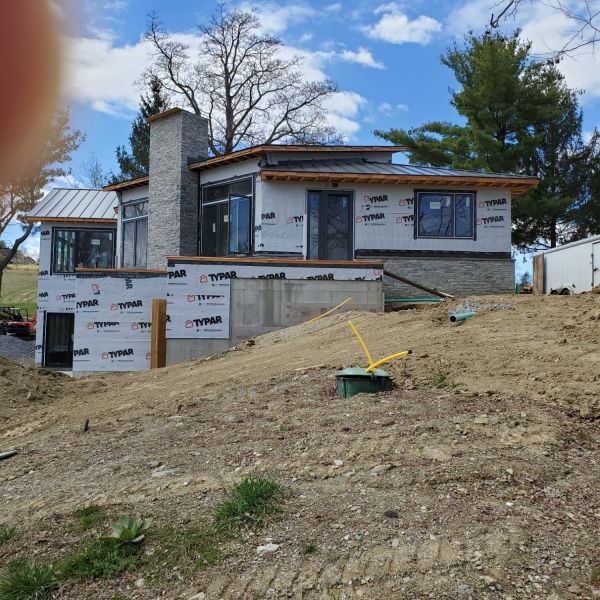
South side of the house 4/15/21
West side of the house 4/15/21
North side of the house 4/15/21
East side of the house 4/15/21
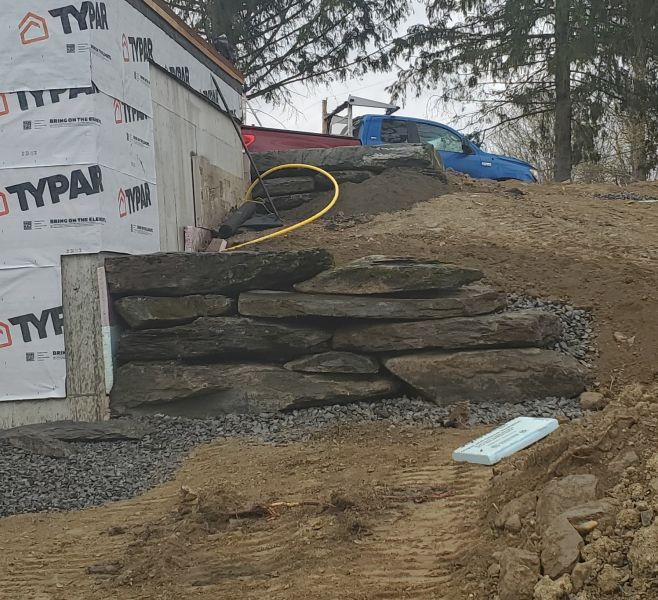
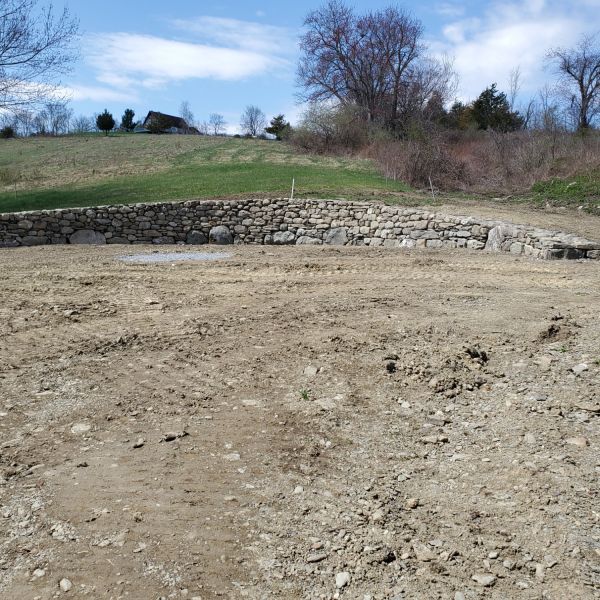
Retaining walls, constructed on the east side of the house to keep the soil in place 4/19/21.
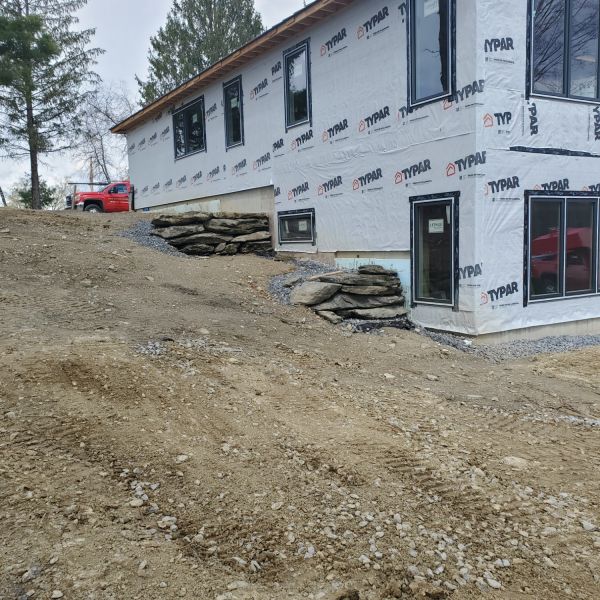
Retaining walls on the west side of the house 4/19/21
South side of the house 5/30/21 (Proto credit: Dan Friedrich)
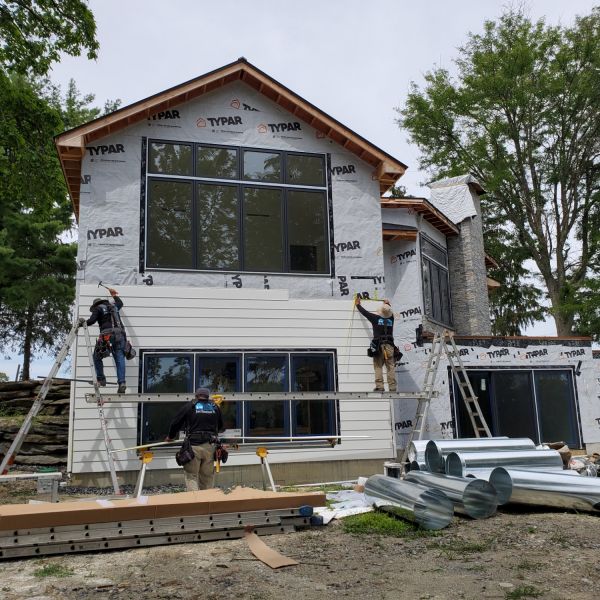
The siding begun on the south side 8/3/21
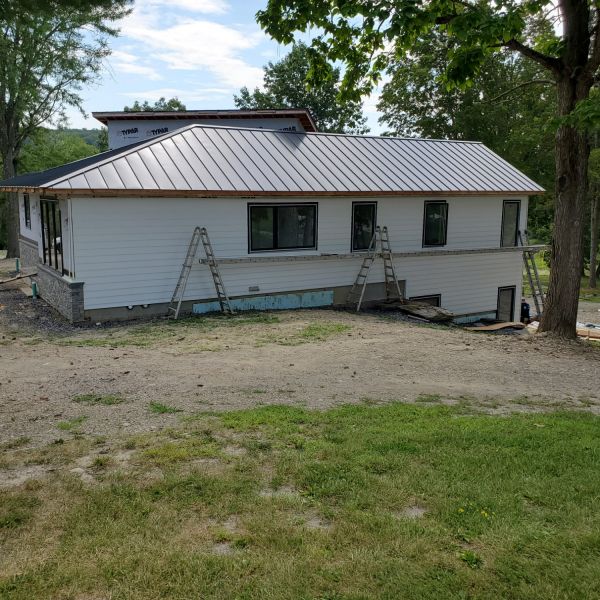
East Side of the house 8/17/2021
West Side of the house 8/18/2021
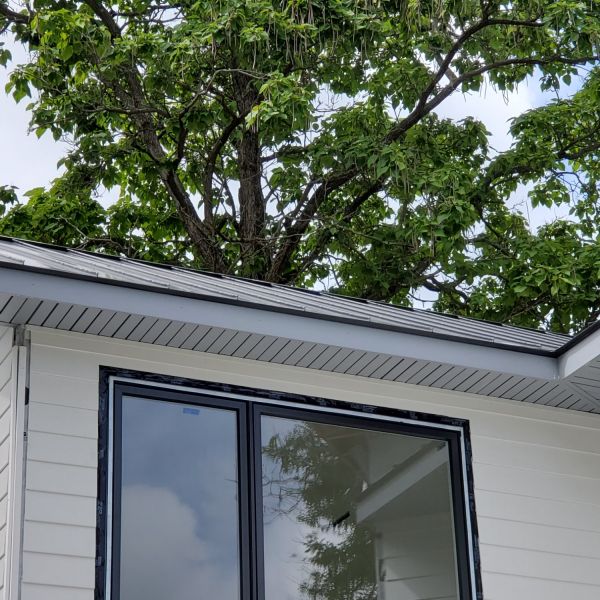
Closeup of the soffit on the east side of the house 8/20/2021
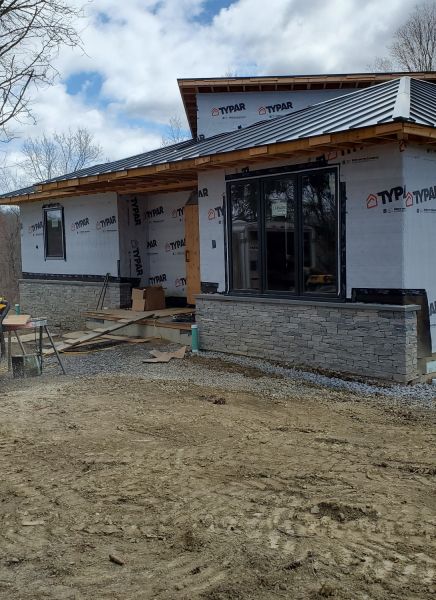
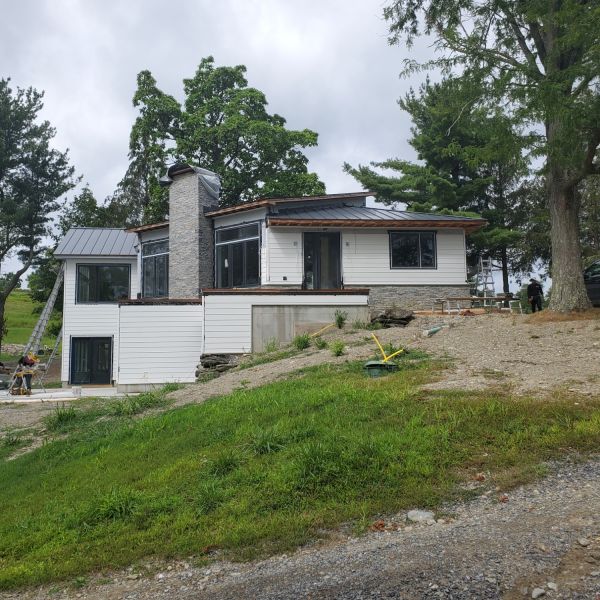
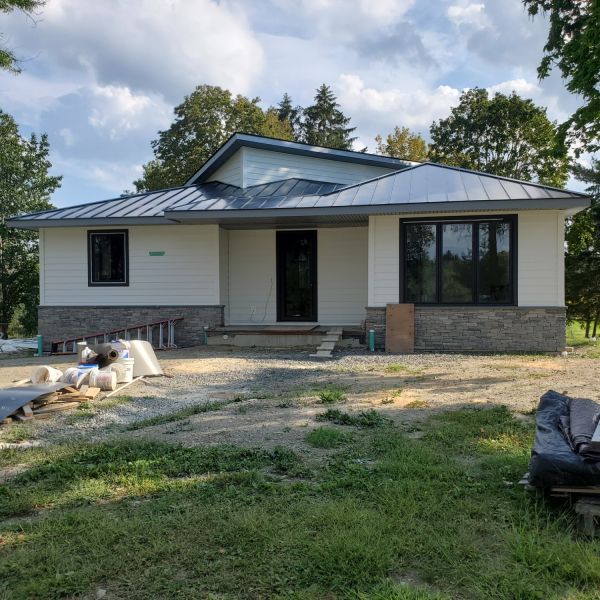
South side of the house 8/20/2021
Northside of the house 9/8/2021
Our architect, general contractor, Linda, and I spent nearly an hour discussing how and where to put a ramp up to the porch on the north side of the house. Many ideas were proposed. Then our general contractor suggested making the entire walkway a ramp rather than having separate steps and ramp. Everybody smiled and nodded their heads. Problem solved. This is the result so far.
Grading the north end 5/16/22
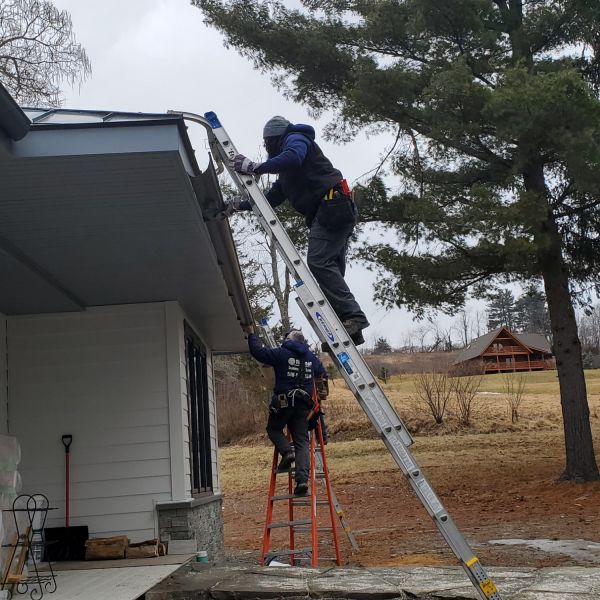
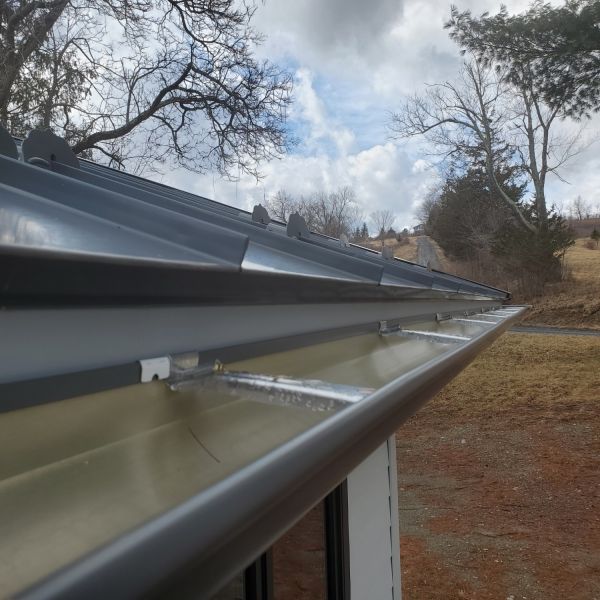
Installing gutters and downspouts on the northside of the house 2/21/22
One of the downspouts 2/21/22
The gutter and snow guards 2/21/22
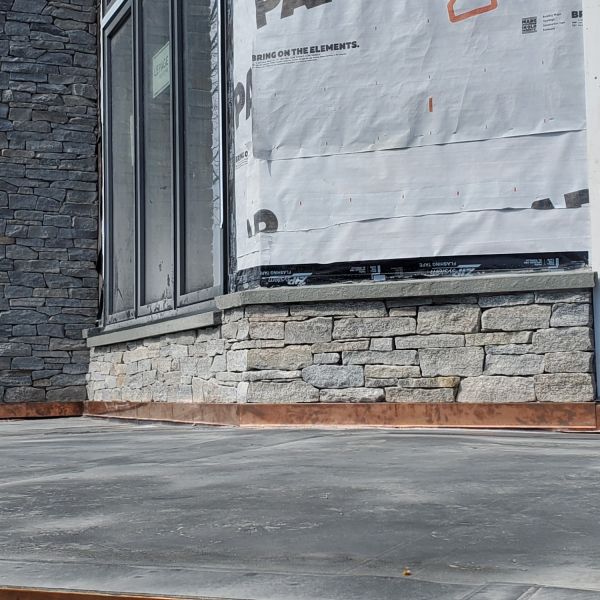
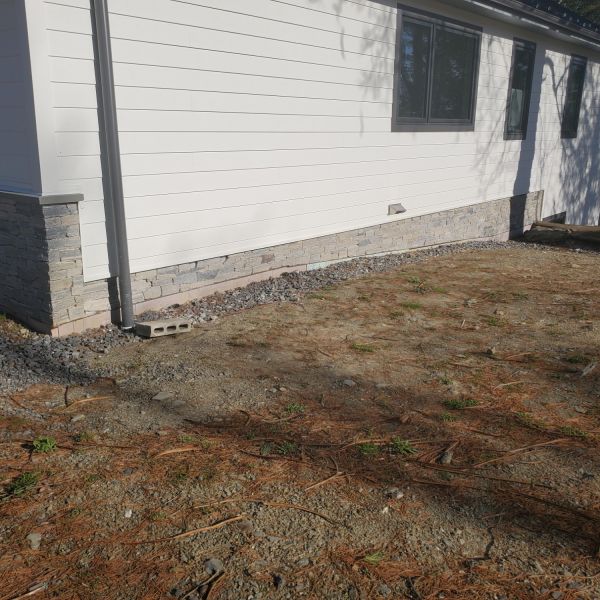
Preparing to complete the stonework on the east side of the house 4/11/22
Completed stonework on the east side of the house 4/12/22
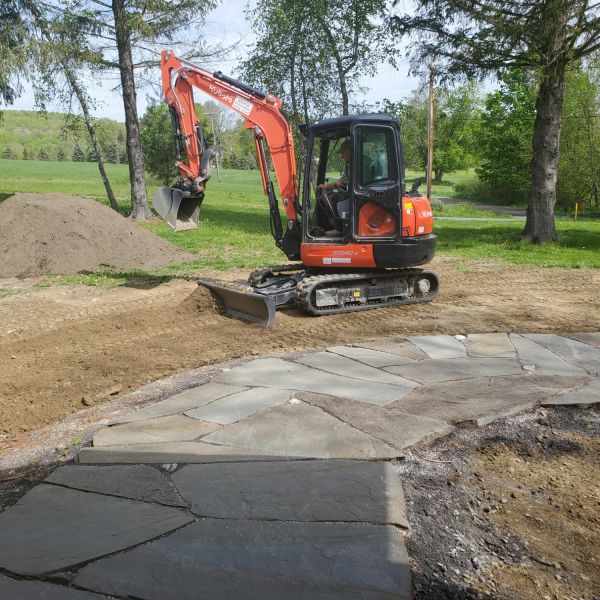
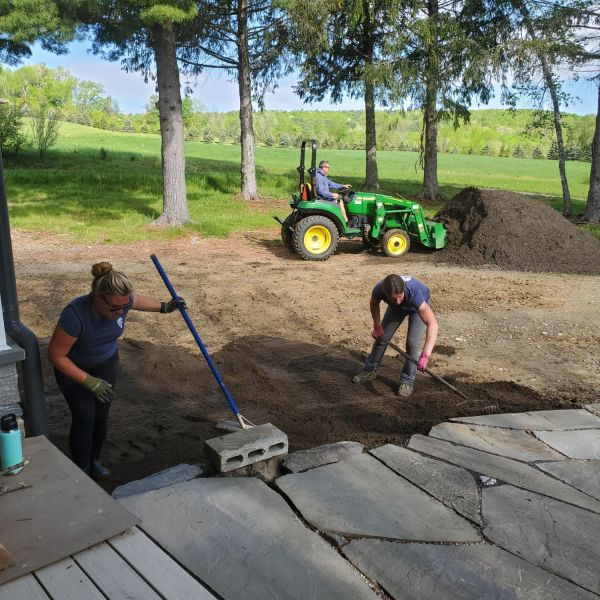
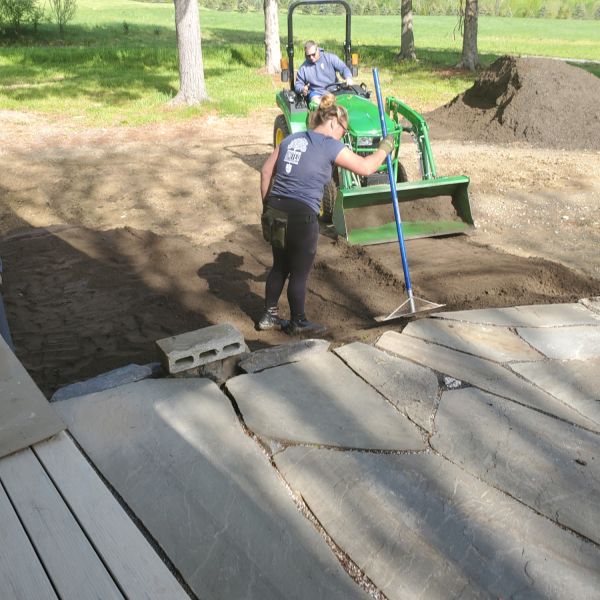
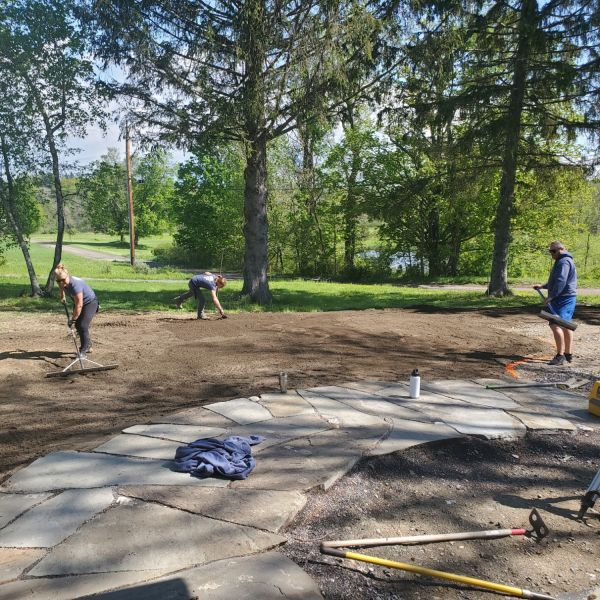
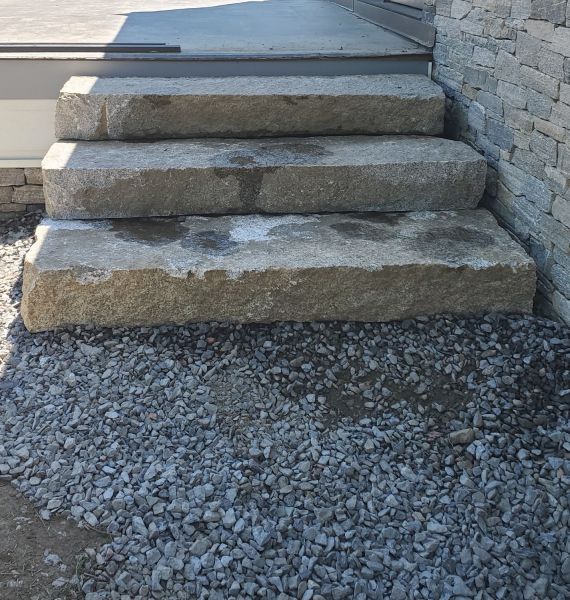
Preparing to install the walkway and steps on the east side of the house 7/19/22
Stonework on the westside of the house 4/15/22
Preparing the site for the solar panel 12/4/2020
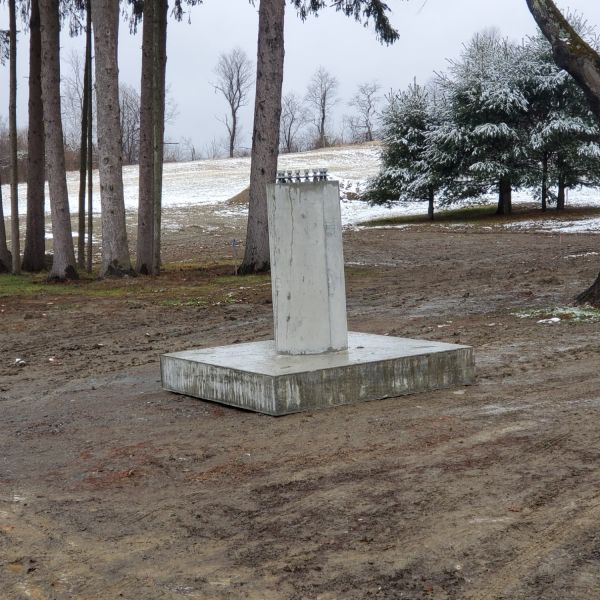
The pedestal for the solar panel delivered 12/14/2020
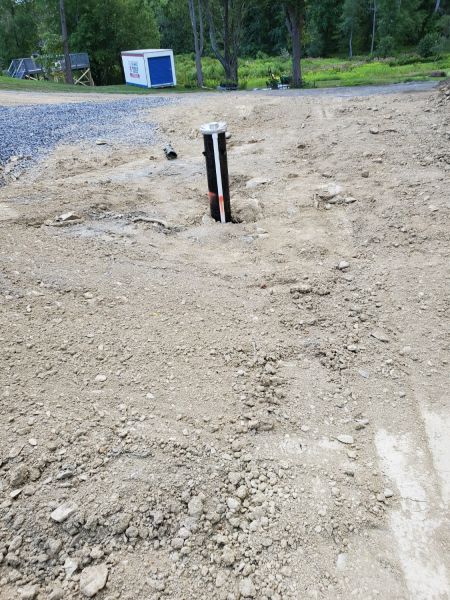
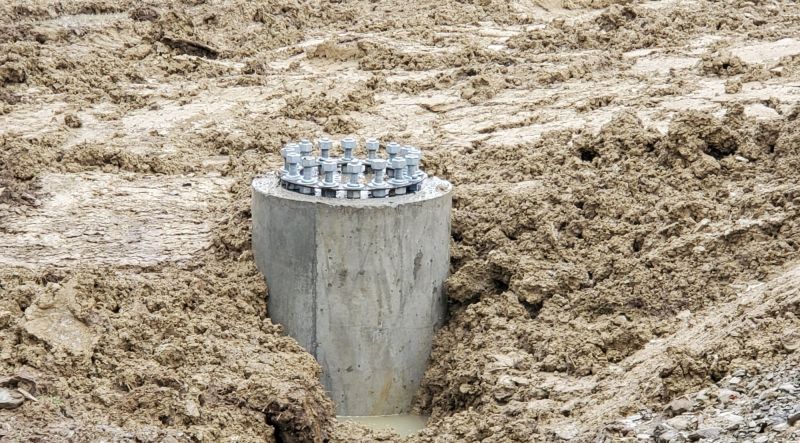
The pedestal for the solar panel buried 12/6/2020
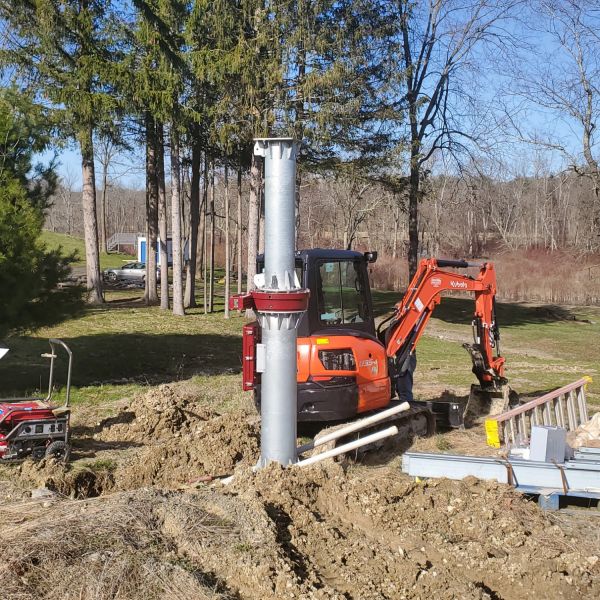
Erecting the post on which the panels will sit 4/12/2022
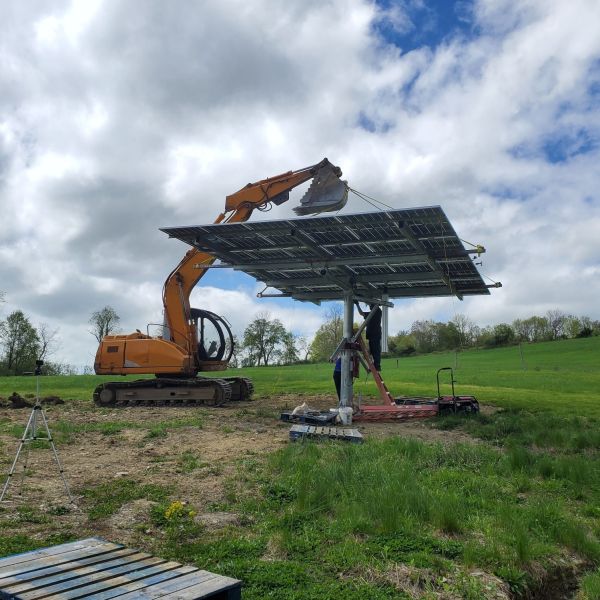
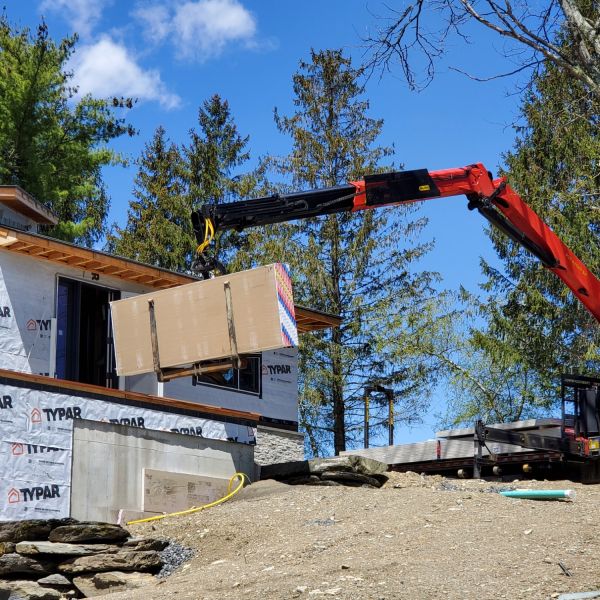
This excavator hoisted the assembled panel up to the post. In that position, the excavator could 6000 pounds. The solar panel weighed approximately 4000 to 5000 pounds. 5/13/22
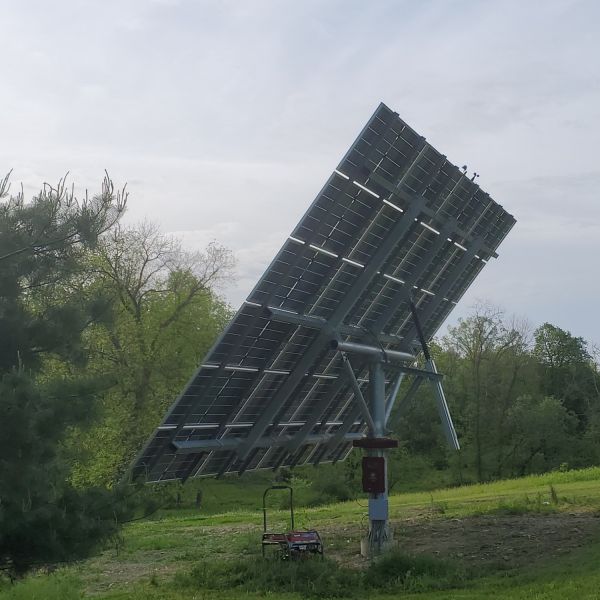
The solar panel operational
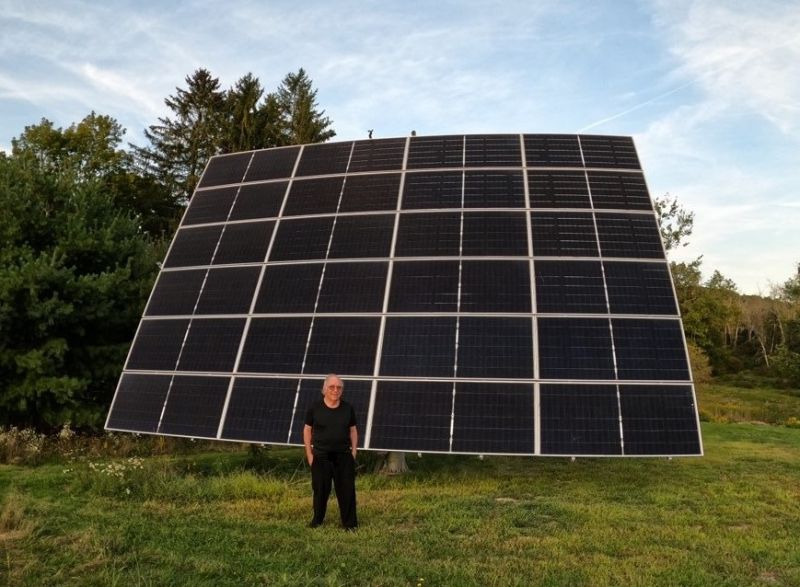
The solar panel array and me
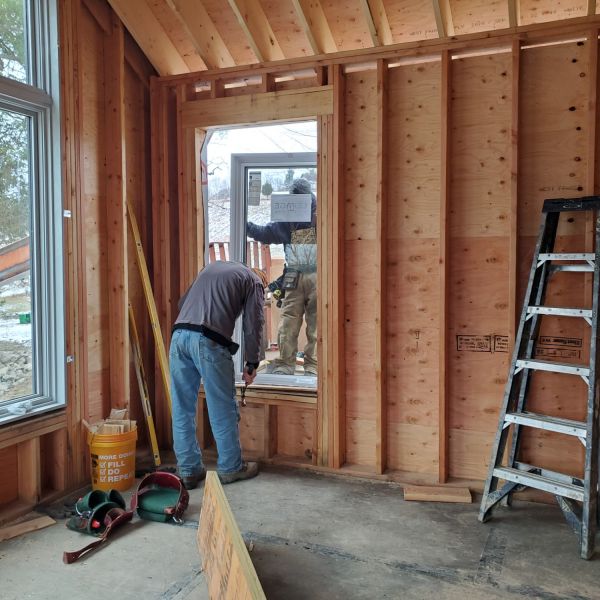
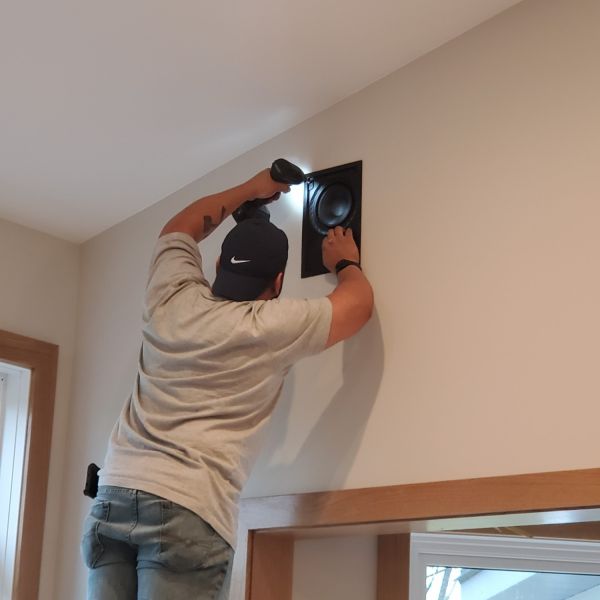
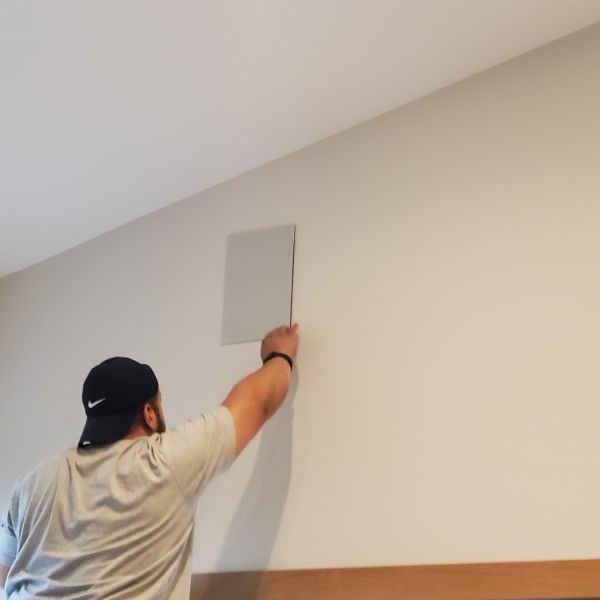
Installing a window from the inside
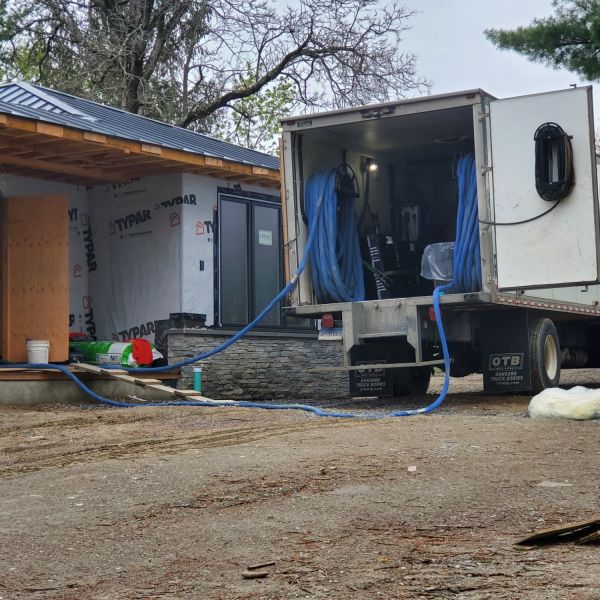
The truck pumping out the insulation 5/4/21
Insulation in the kitchen 5/4/21
Insulation in the living/dining room 5/4/21
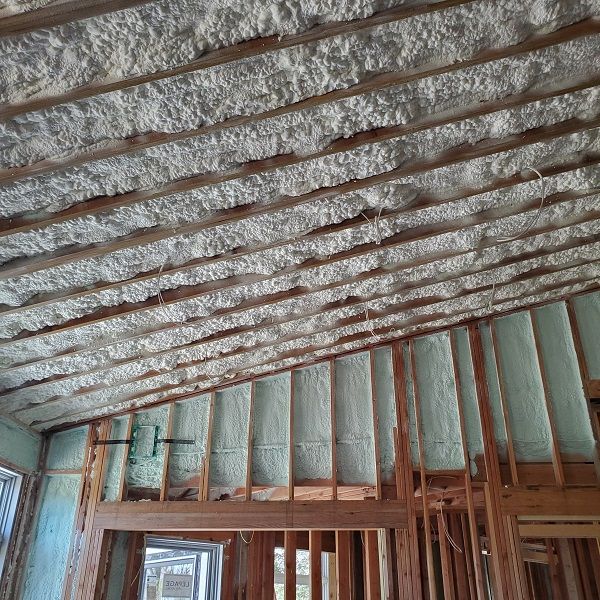
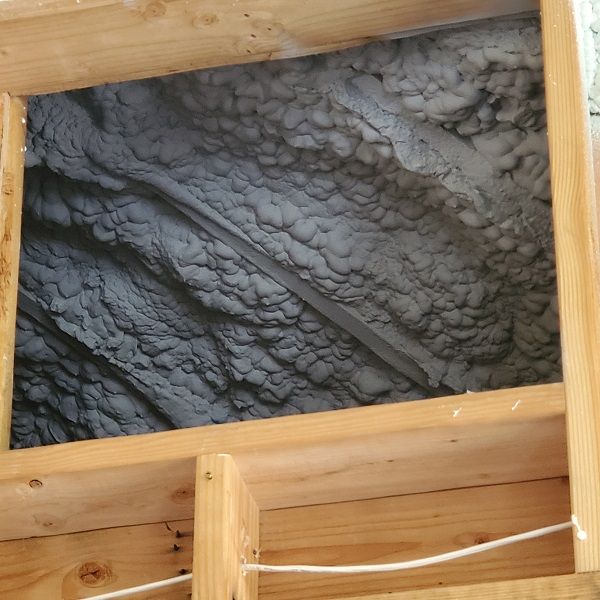
Insulation in the attic 5/4/21
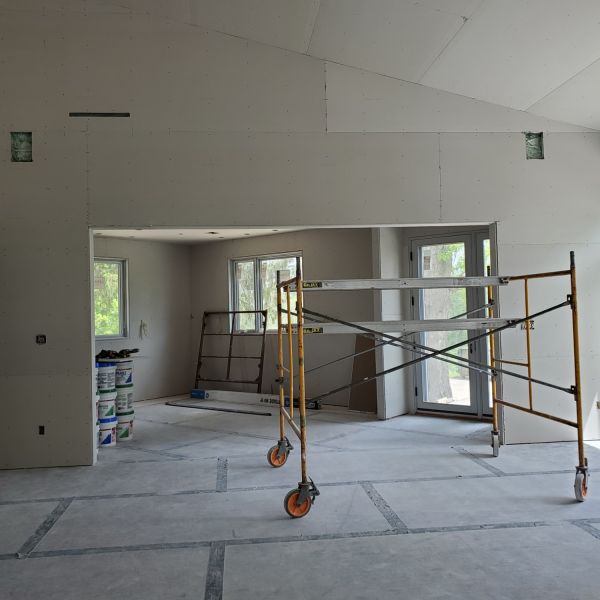
Sheetrock arriving and being placed in the house 5/11/21.
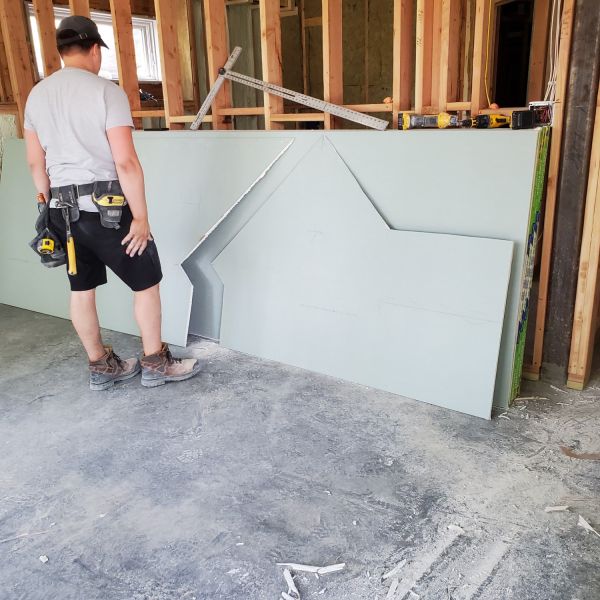
Cutting the sheetrock 5/12/21
Sheetrockiing the kitchen 5/12/21
Sheetrocking the kitchen area completed 5/12/21
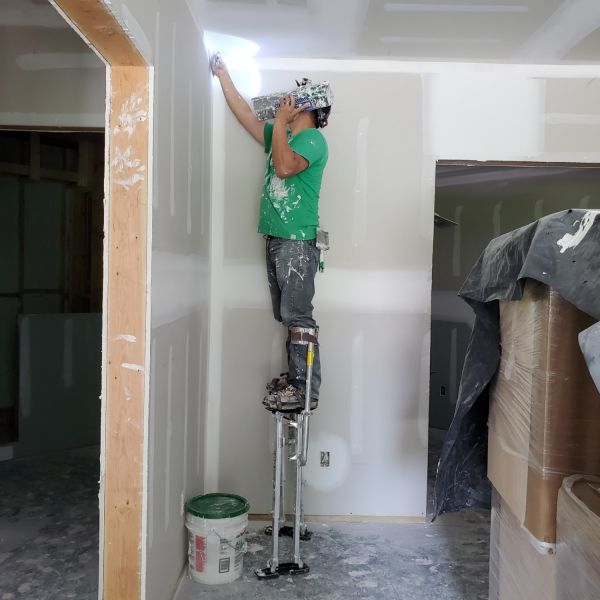
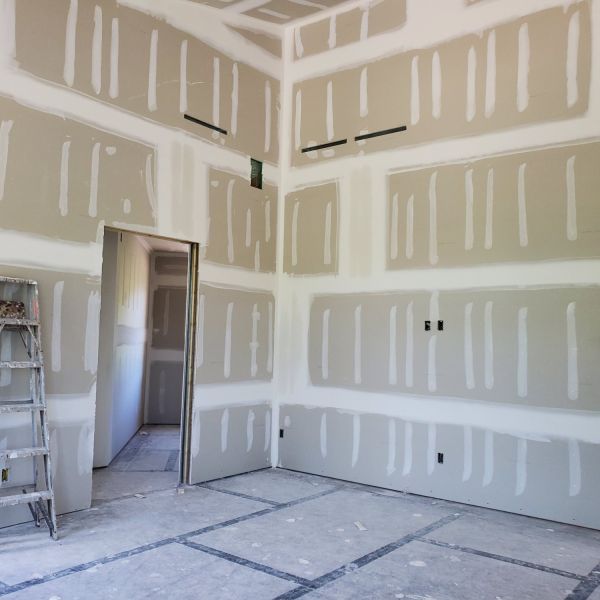
Taping and compounding the sheetrock 5/24/21
Taping and compounding the living/dining room completed 5/24/21
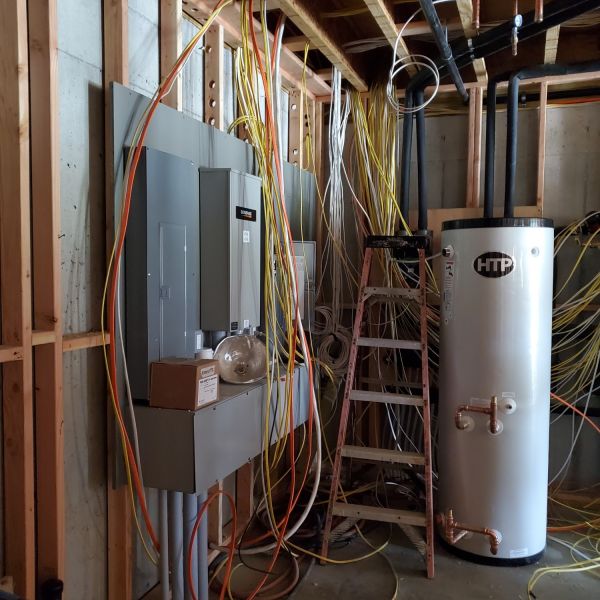
Wires into the utility room
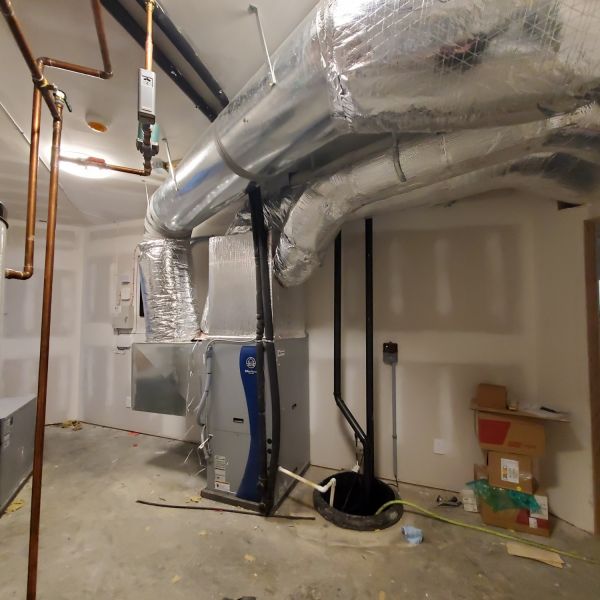
Shown in this photo is the water-to-air geothermal unit that heats and cools the main floor of the house. The basement is supplied with radiant heat through the concrete floor. The floors of the main floor kitchen and primary bathroom also have radiant heating coils.
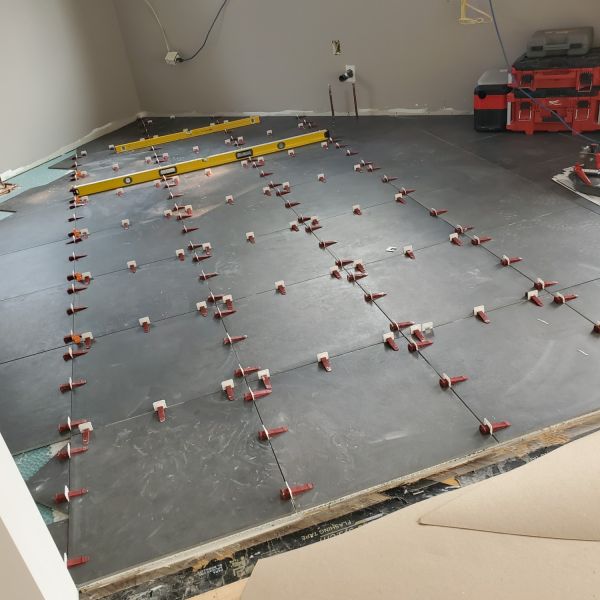
Preparing the kitchen floor for radiant heat under the tiles
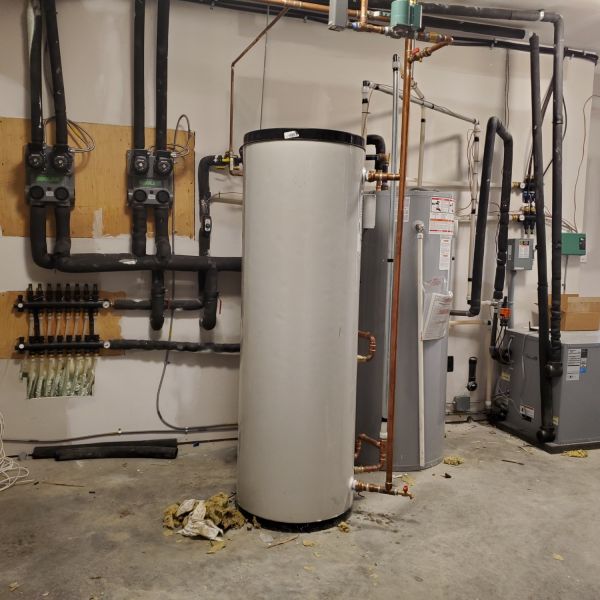
Shown in the center is the domestic hot water tank from which all the hot water faucets get supplied. To its right is another tank that heats water for the domestic hot water heater and for the radiant heated floors. The 2 pumps on the wall to the left are the ground loop flow centers which circulate the water from the ground outside to and from the geothermal units.
Laying out the tiles in the kitchen
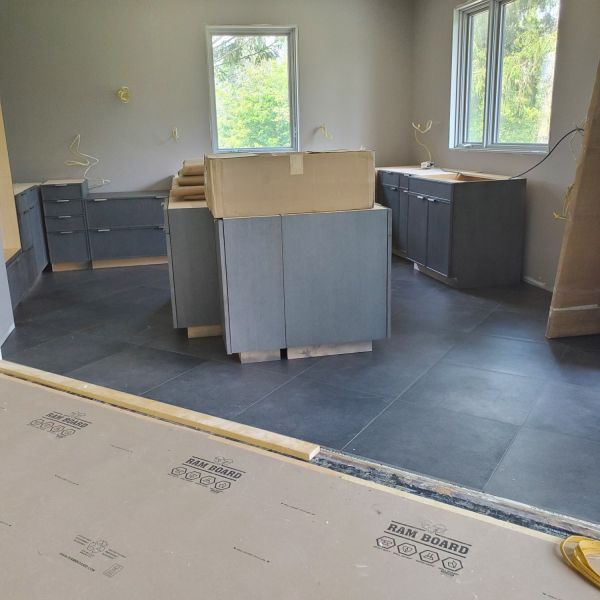
The tiles completed in the kitchen and moving some of the kitchen cabinets in place
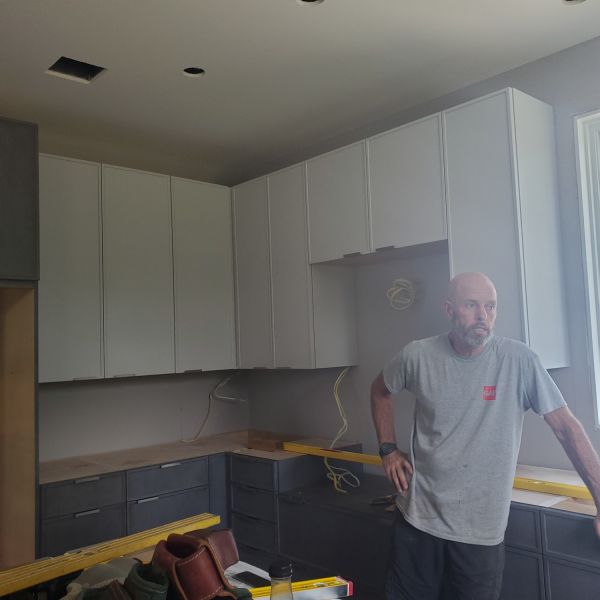
The upper cabinets being installed in the kitchen
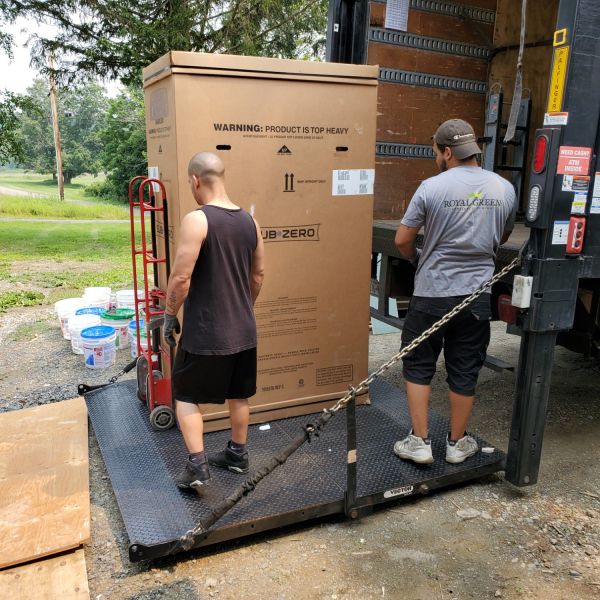
We have almost never had enough room in our refrigerator for all the varied food we eat. This purchase aimed to solve that problem. Here is a photo of our 48-inch Sub-Zero refrigerator being delivered
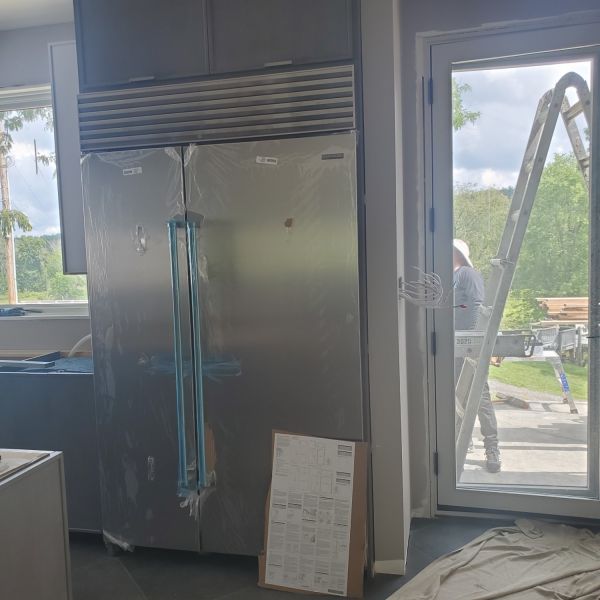
The refrigerator in place
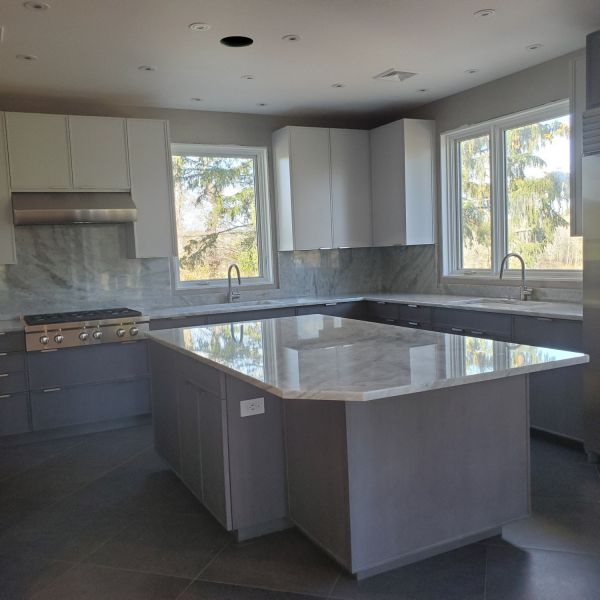
The eastside of our kitchen
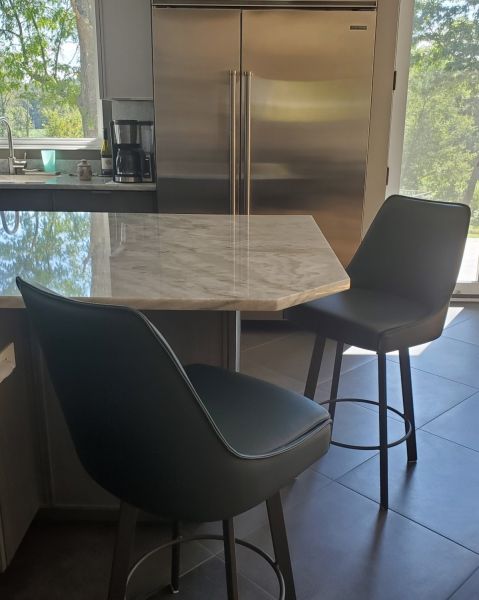
The bar stools at the kitchen island
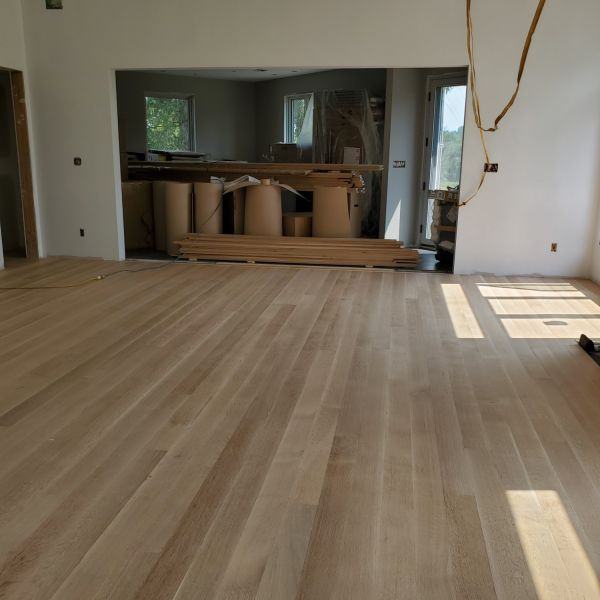
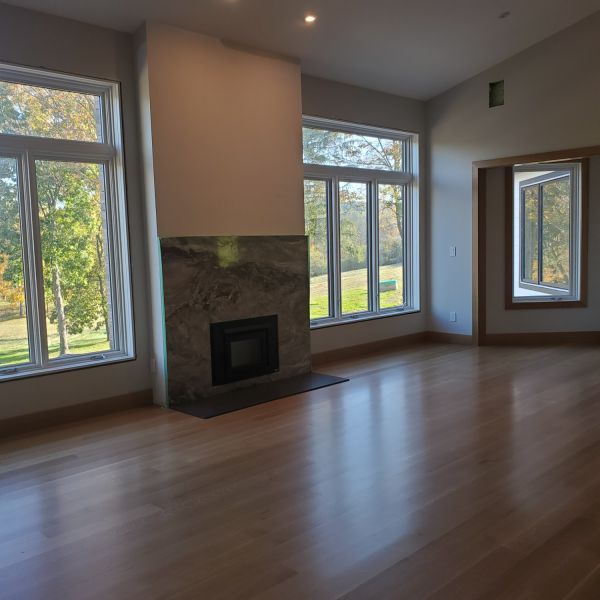
The oak flooring in the living/dining room
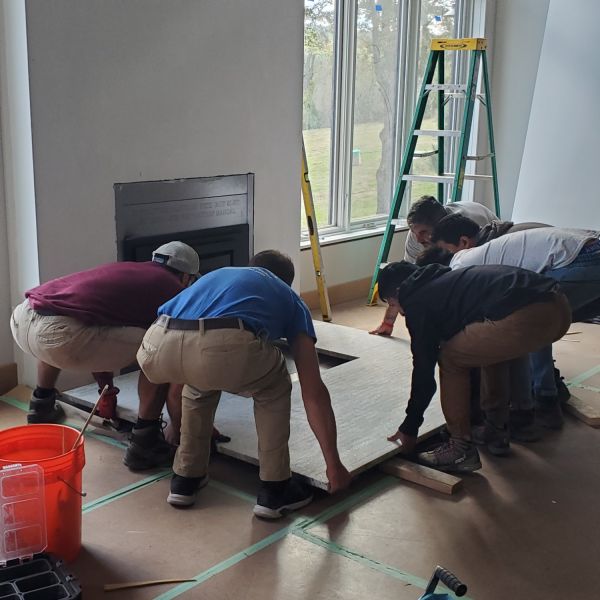
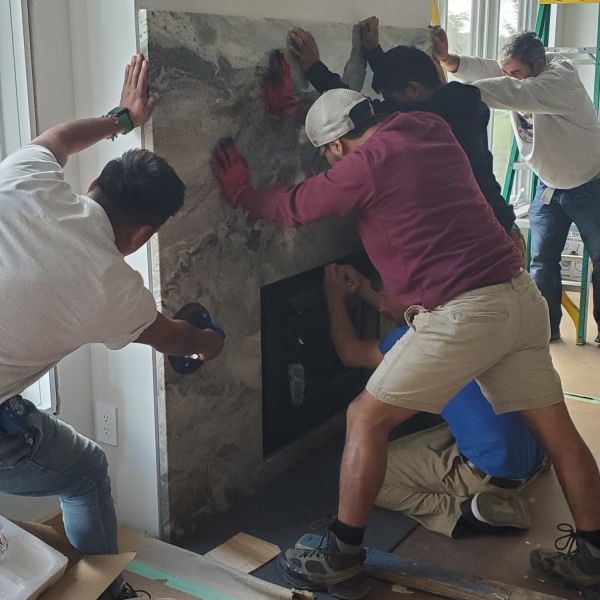
Preparing to put the fireplace surround in place
Pushing the fireplace surround in place
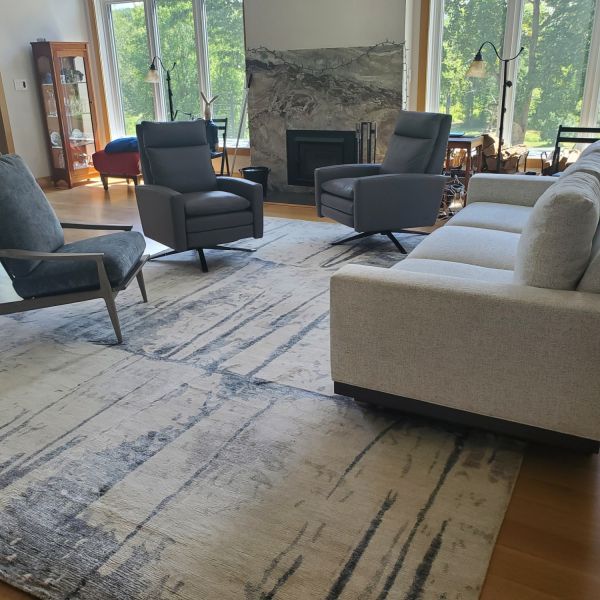
The eastside of our living/dining room waiting for new furniture
New living room furniture
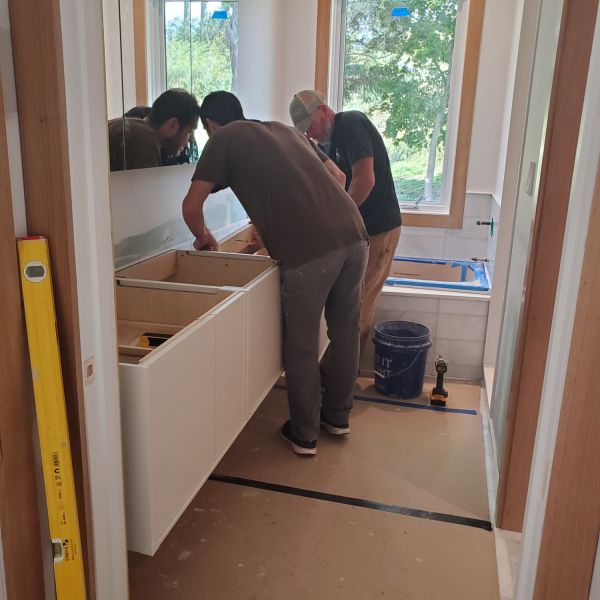
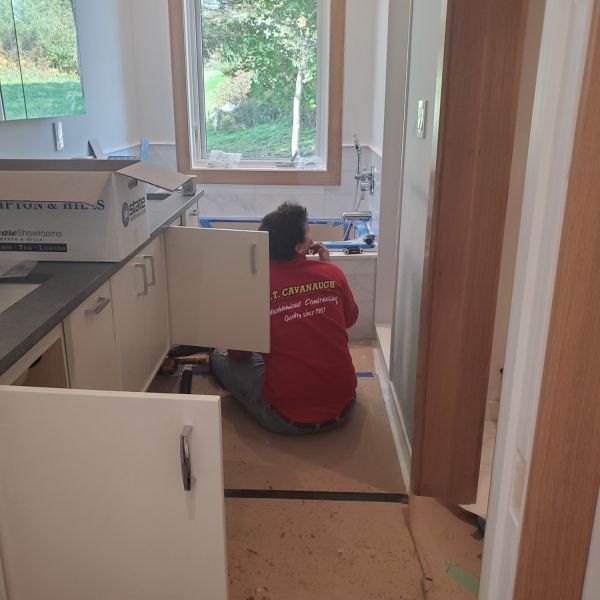
Installing the sinks and cabinets in the primary bathroom
Installing plumbing fixtures in the primary bathroom
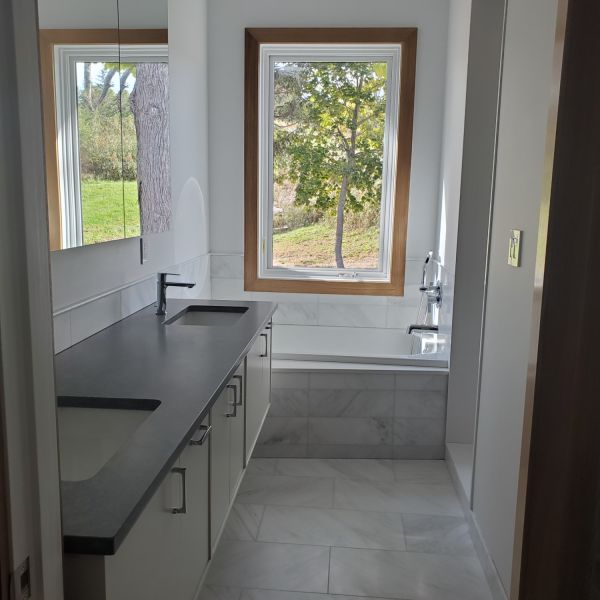
Completed primary bathroom
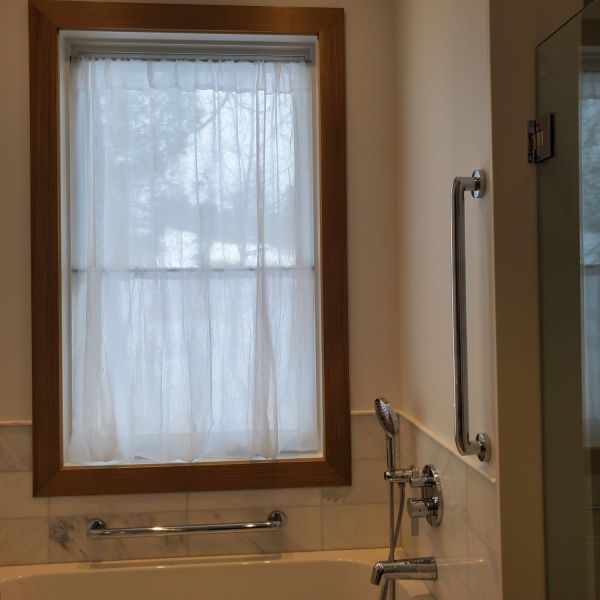
We want our home to be fully accessible. Here are the grab bars in our bathtub
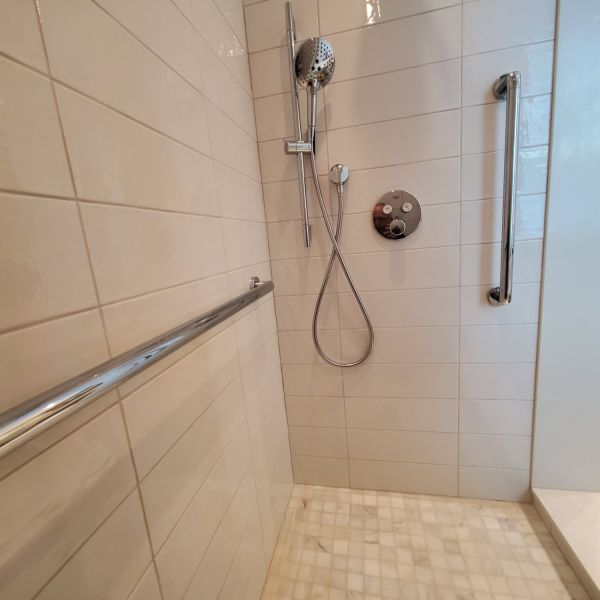
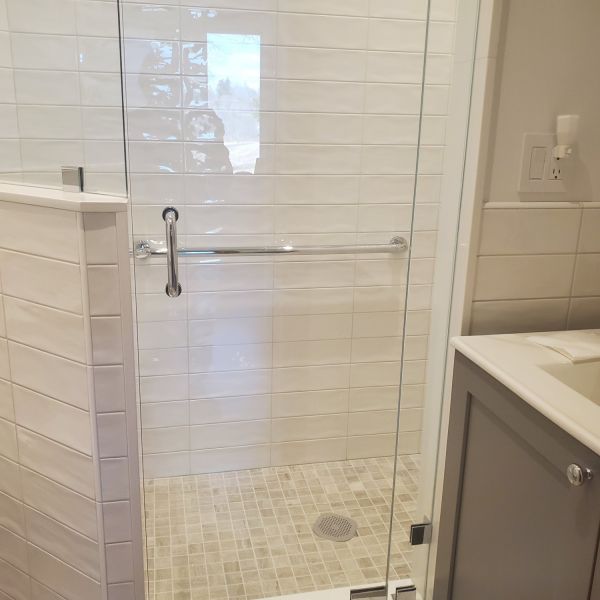
Here are grab bars in the primary bathroom shower
Here is a grab bar in the guest bathroom shower
There is a grab bar next to each toilet in the house
This is part of the primary bedroom suite in which cabinets will be installed for what we will call our dressing room ,
The southeast side of our bedroom. Note the storage unit in the left corner. This onsite unit is one of three, the other two were eight miles away, one of which has been cleared out. The one that is pictured will stay in place until we are able to build a tool shed and potting shed probably in the Spring of 2022..
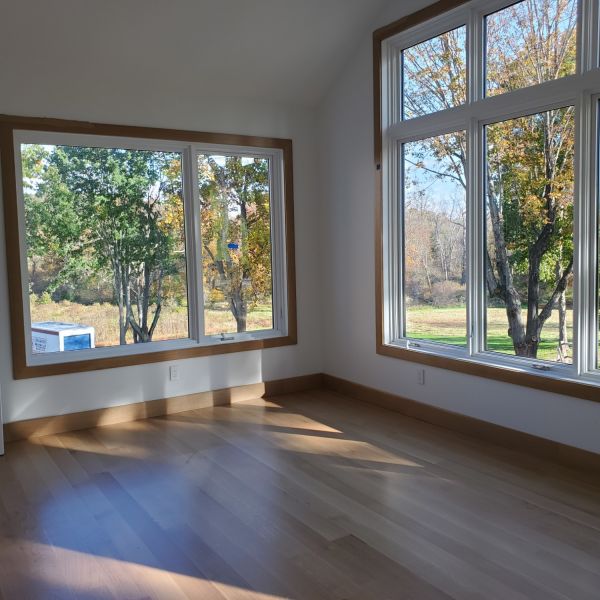
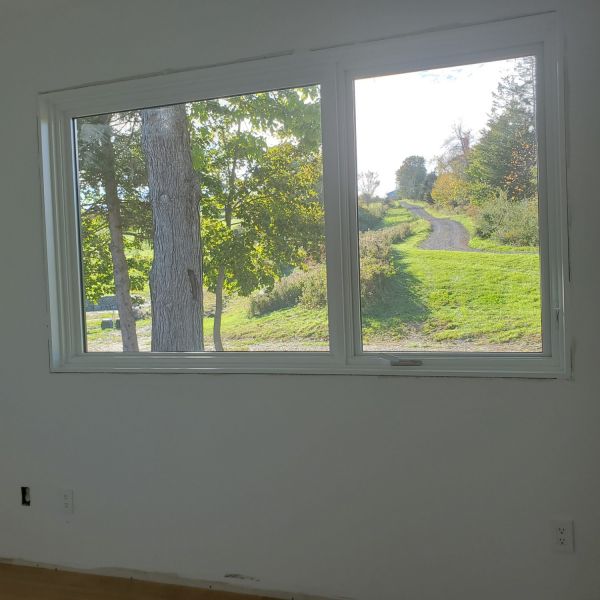
The southwest side of our bedroom. The garden area can be viewed from these windows.
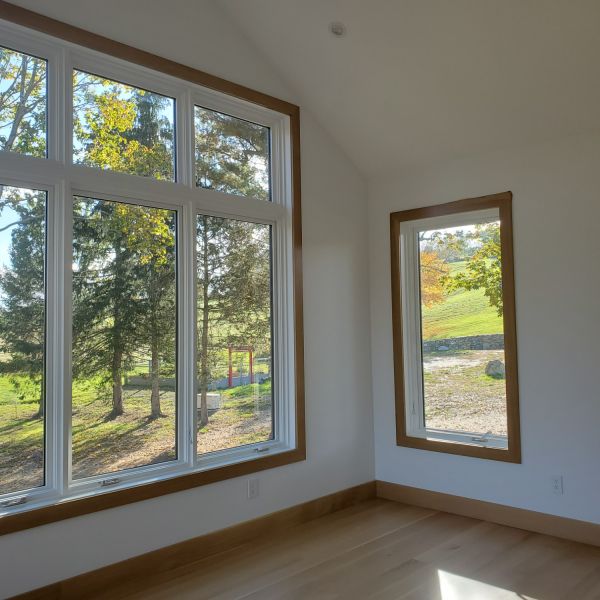
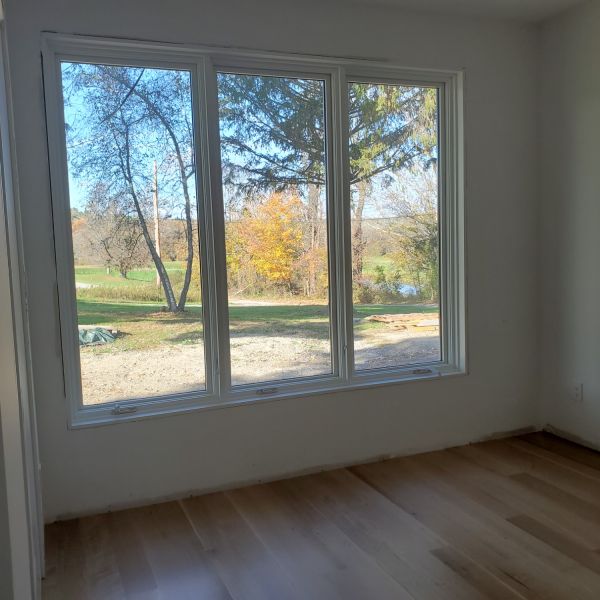
The view from the room that is Linda's office and guest room.
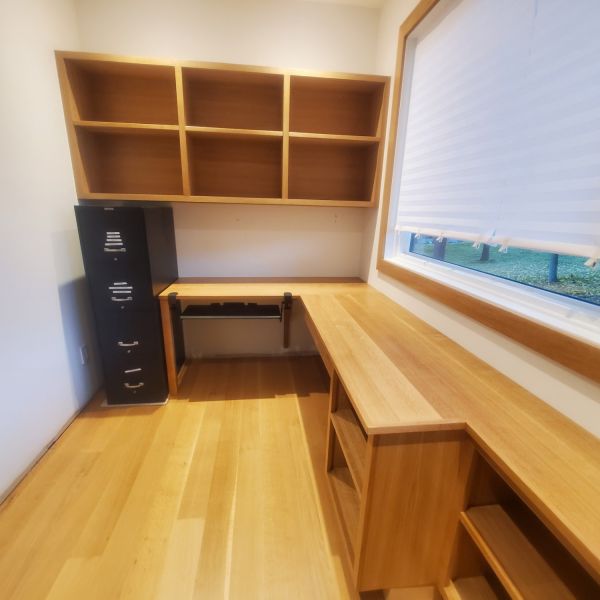
Furniture assembled in my office 10/25/22
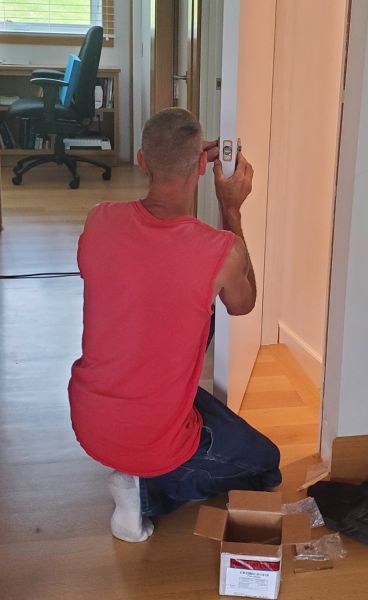
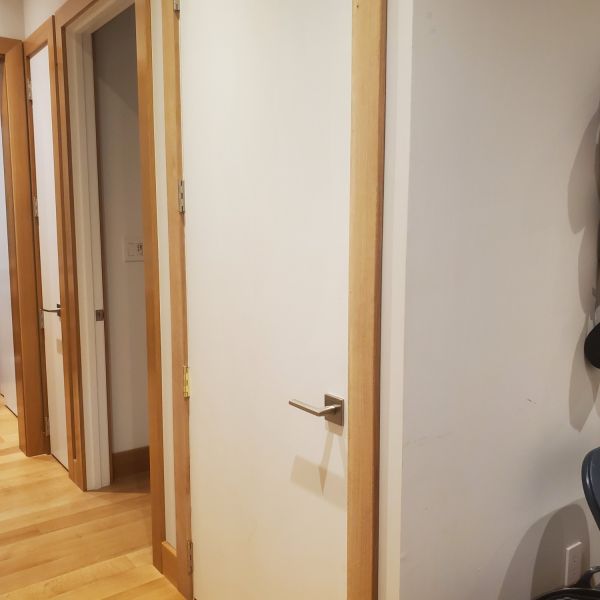
In January 2023, I fell down a flight of steps inside our house. That necessitated the installation of a door at the top of the steps to avoid another mishap.
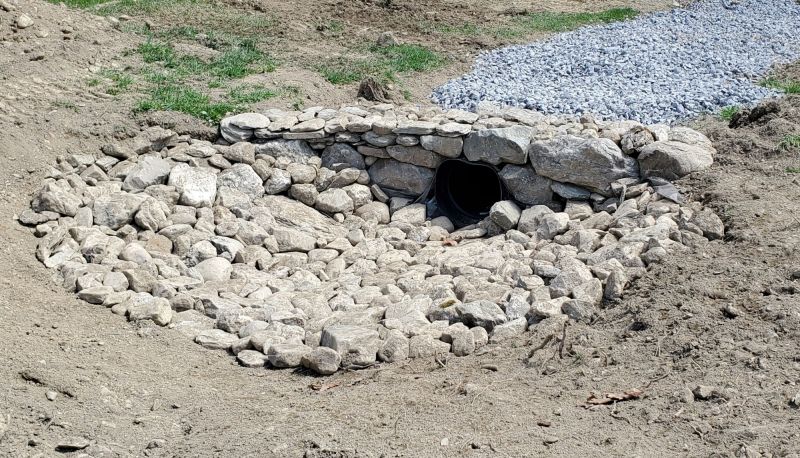
Our property is down in a valley so rainwater flows down the hill. With the help of Larry Freidrich, Linda's brother, we created a path, known as a swale, for the water to move down in a predictable stream rather than spreading throughout the property. To contain it, a culvert pipe was placed in the expanded swale This is the entrance to the culvert pipe. The water now cascades down and through the property, particularly after heavy rain. It's lovely to look and listen when that is happening.
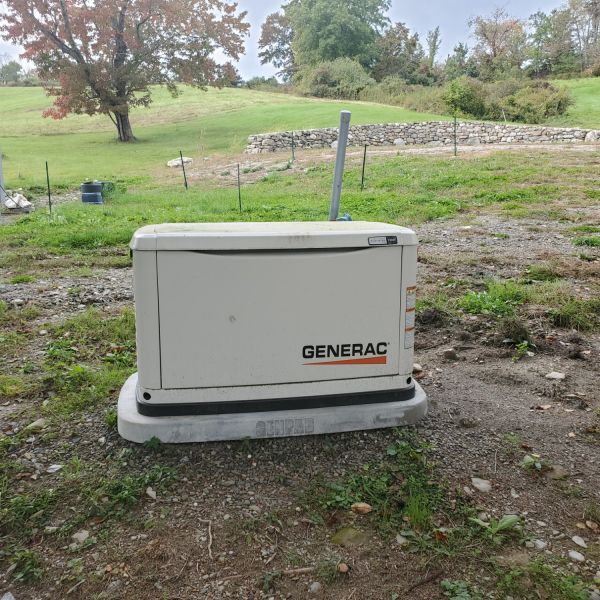
A generator has been placed away from the house because it can be noisy. If our electricity fails, this generator will supply us with electricity for up to a week.
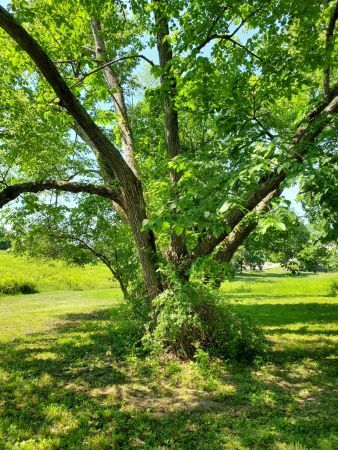
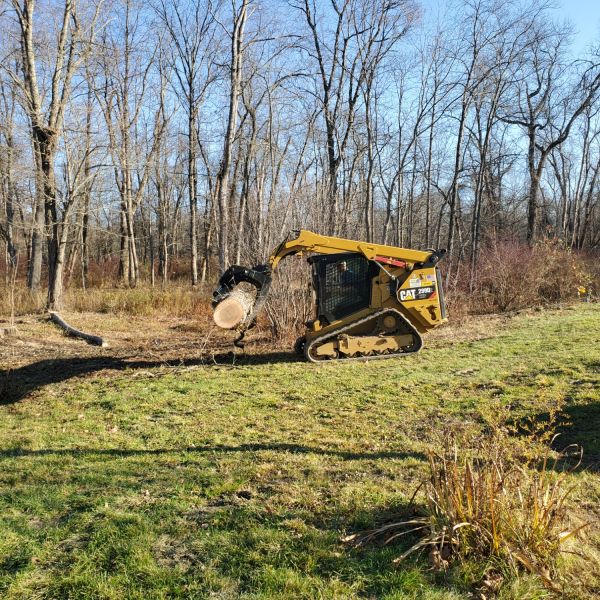
We had to cut down this beautiful ash tree because it was dying. All of the ash trees on our property, and those throughout the United States and in Canada, are being decimated by a pest called the Emerald Ash Borer.
Cutting of other ash trees, all of which are dead or dying,.
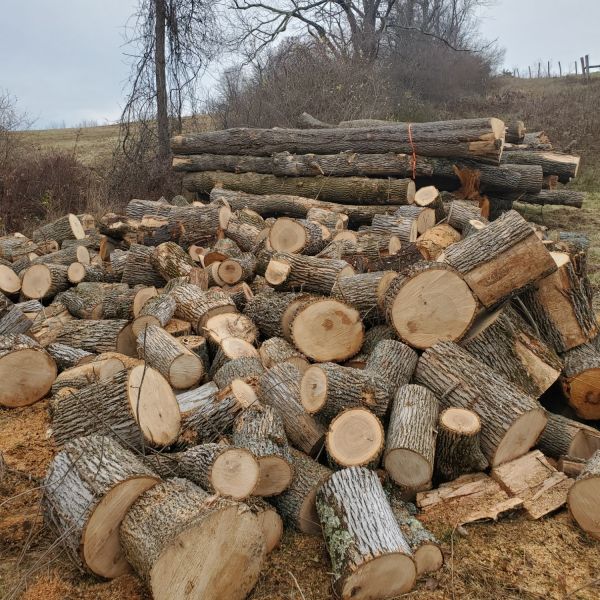
Ash trees being readied for splitting destined to become firewood
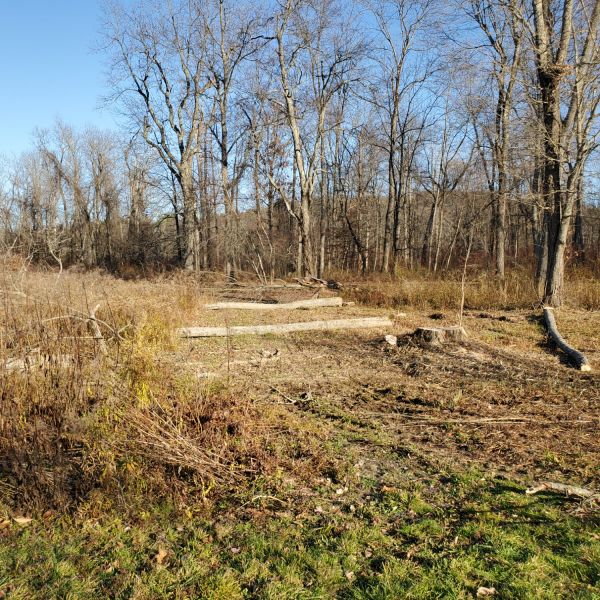
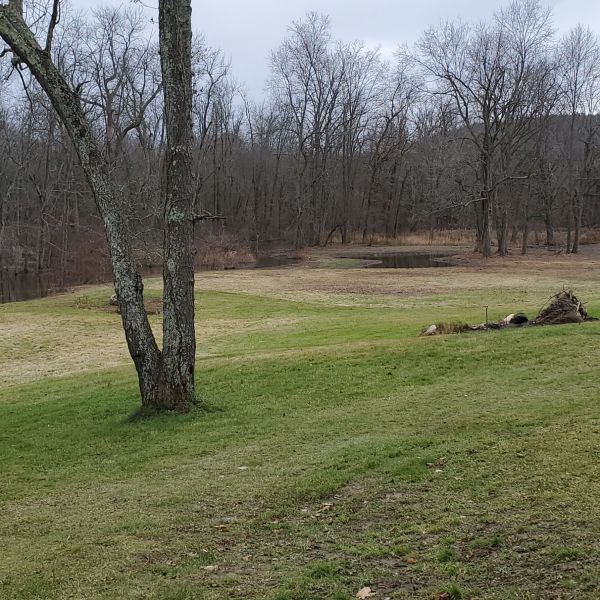
The view after clearing some of the trees and the brush surrounding them.
This is a rock I call Jabba after the Star Wars character it resembles and Linda calls Jeremiah the Bullfrog after the song. Whatever its name, the rock will stand at the entrance to the garden to guard it, maybe keeping the deer away.
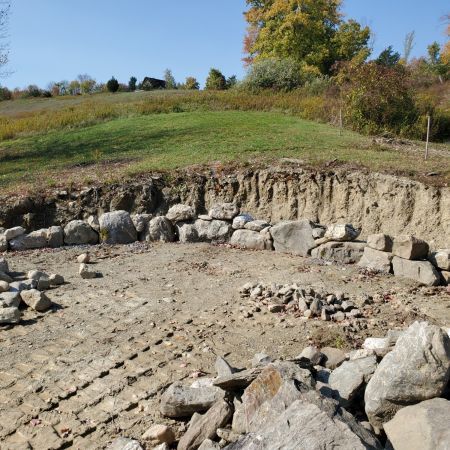
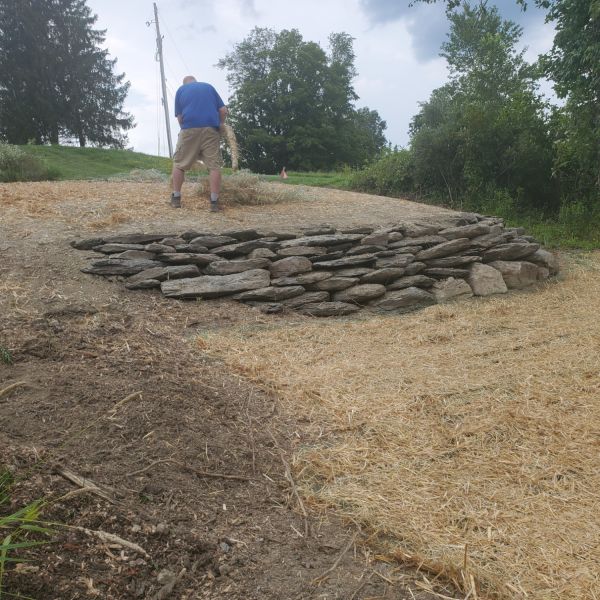
The first stage of the construction of a stone retaining wall in the garden.
The completed garden retaining wall. I dug up and Linda and I gathered all the stones from our property for the wall.
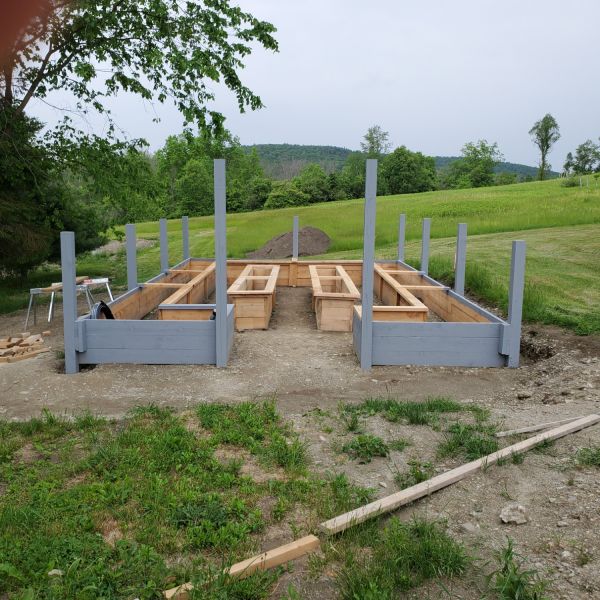
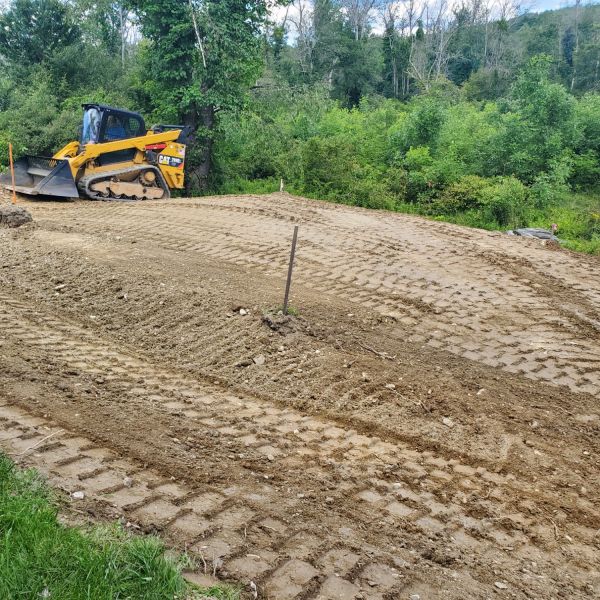
Grading the area for the creation of planting beds
Construction of the planting beds
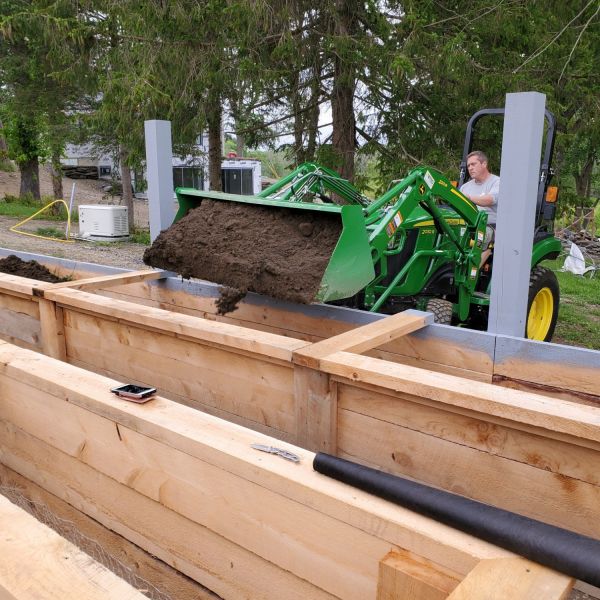
Loading the soil into the beds
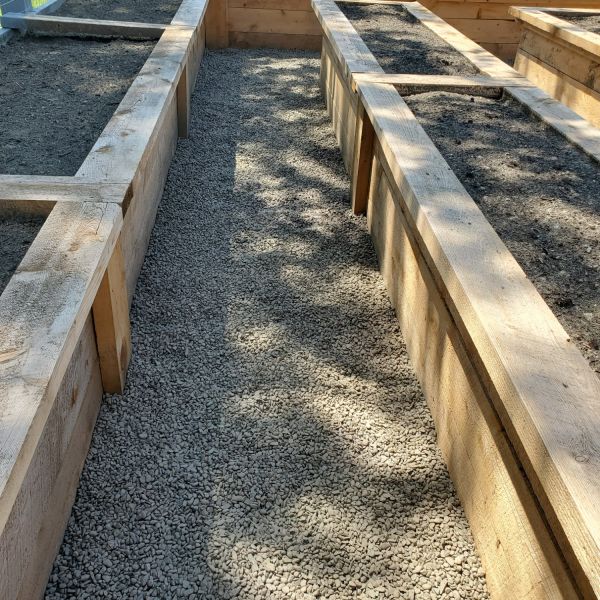
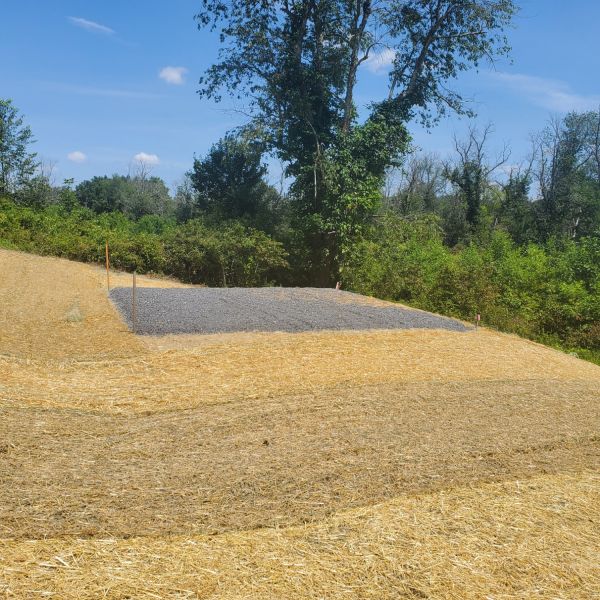
Soil and gravel added to the planting beds and paths within the planting garden
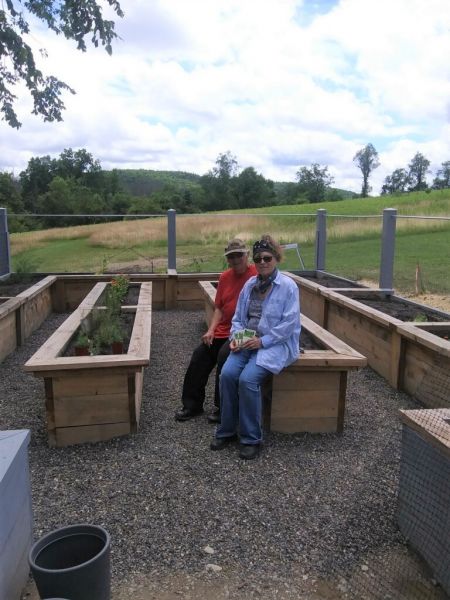
Linda and I relaxing in the planting garden with many of the plants planted
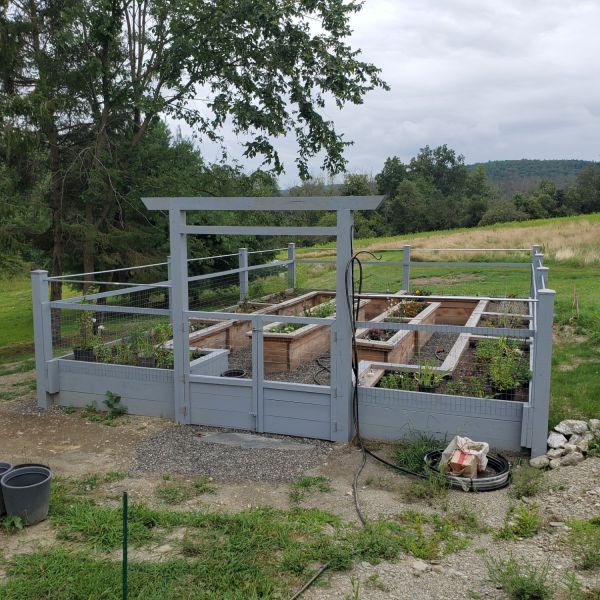
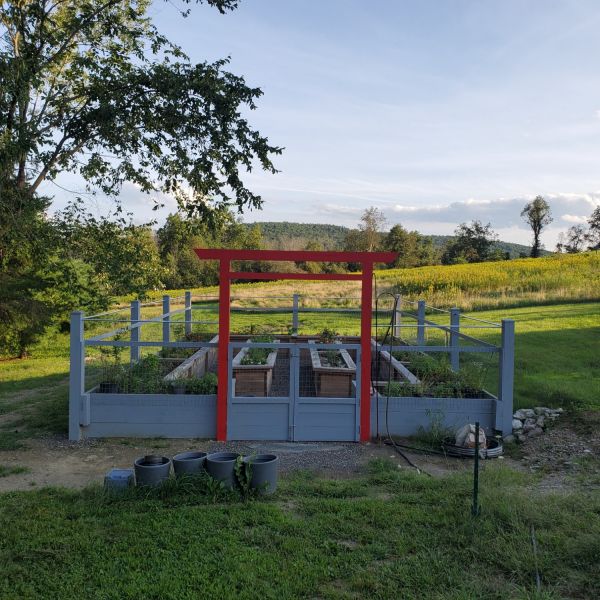
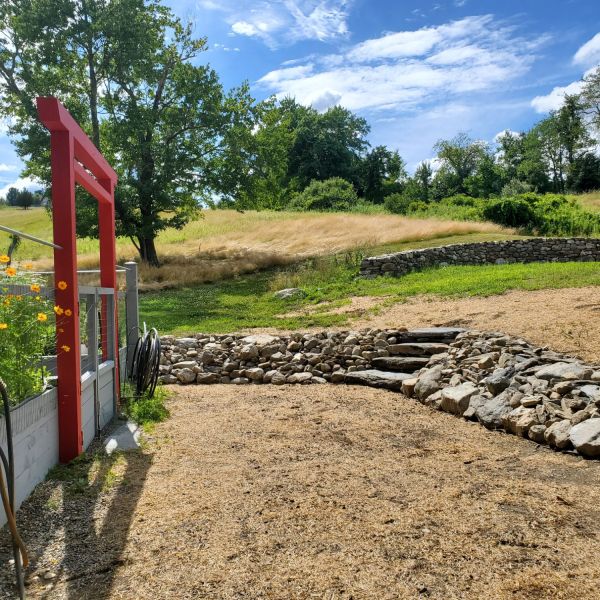
Linda modeled the red front of the enclosed garden after a Japanese Torii gate, commonly found at the entrance of or within a Shinto shrine where, according to Wikipedia, "it symbolically marks the transition from the mundane to the sacred."
The riprap by the garden gate 7/25/22
Preparing the site for the proposed tractor/woodl shed
Planting grass around the base of the tractor/wood shed
The retaining wall next to the proposed tractor/wood shed
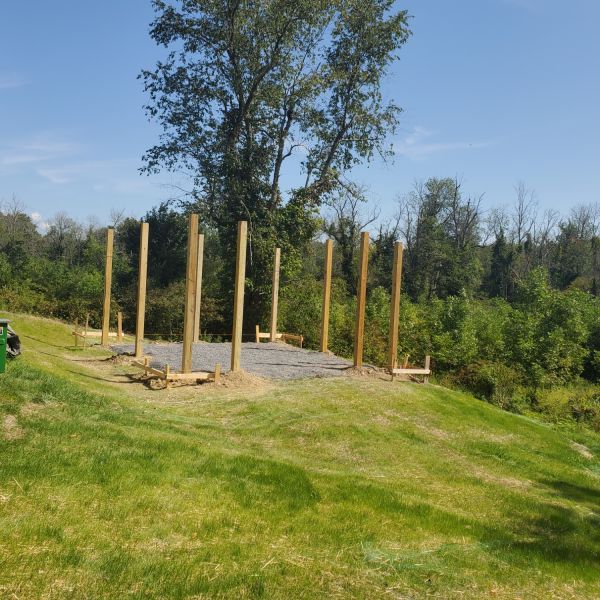
The posts for the proposed tractor/wood shed
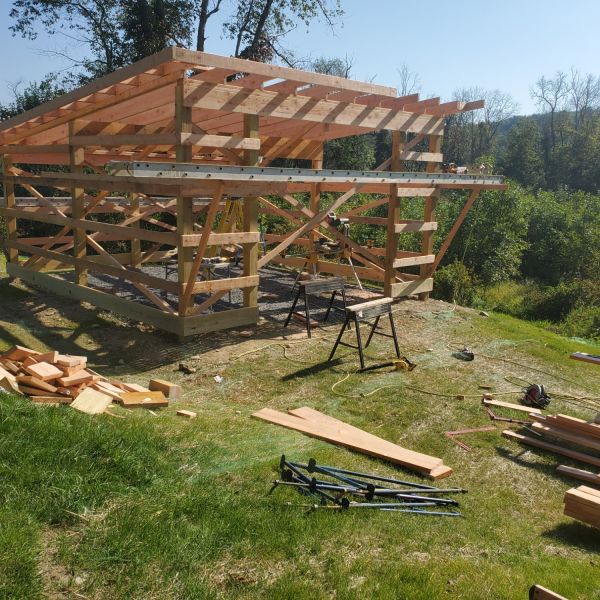
Framing the tractor/wood shed
Adding the extension for the area to store firewood
Adding siding to the tractor/wood shed
Tractor/wood shed completed
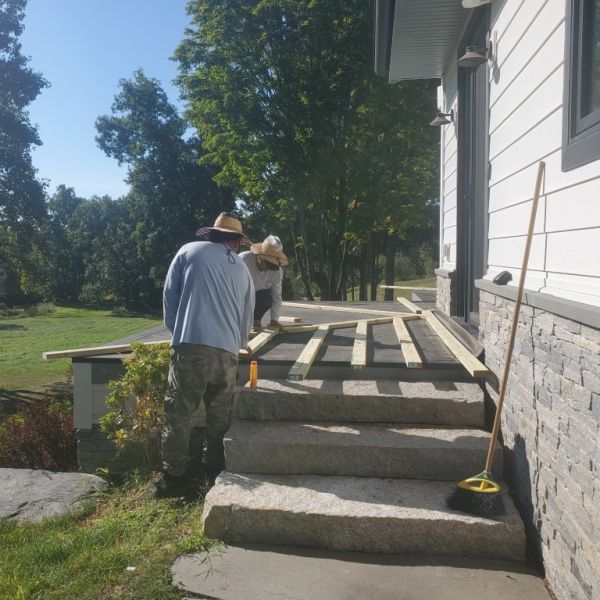
Preparing to construct the deck on the eastern side of the house
Closeup of the base of the eastern deck
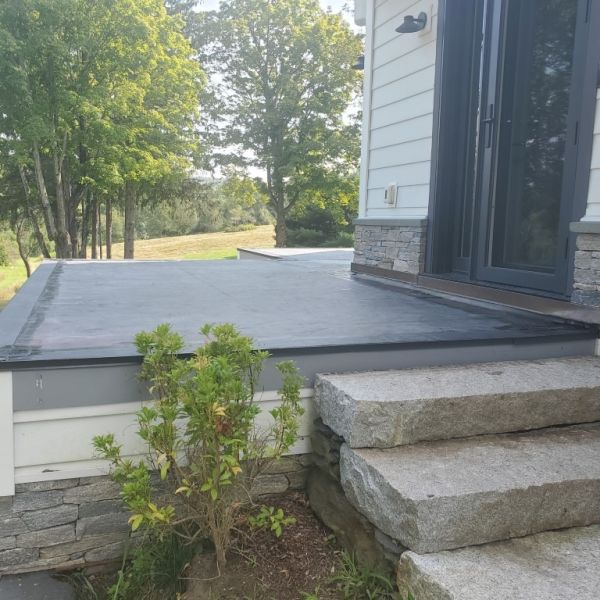
Rubber protective covering applied to eastern deck
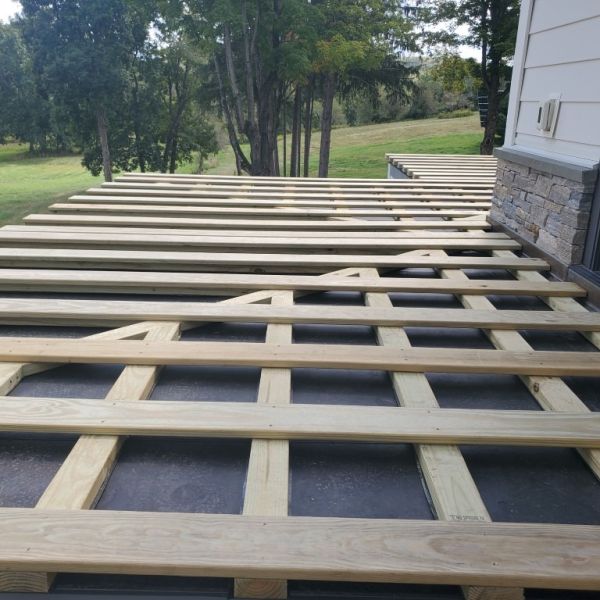
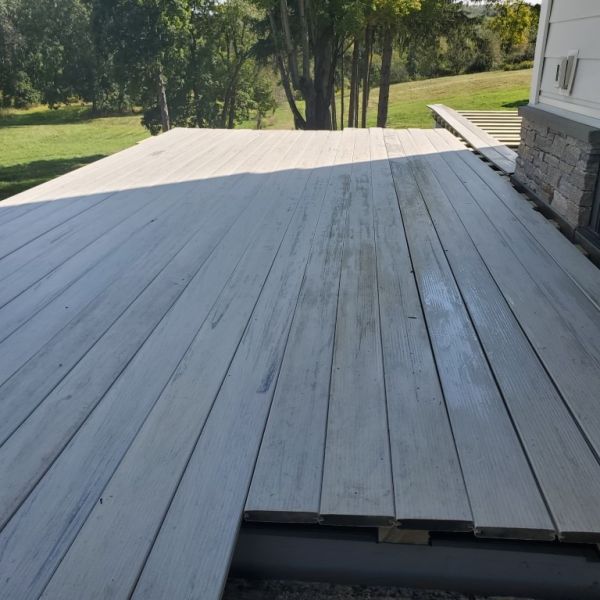
Decking being applied to the eastern deck.
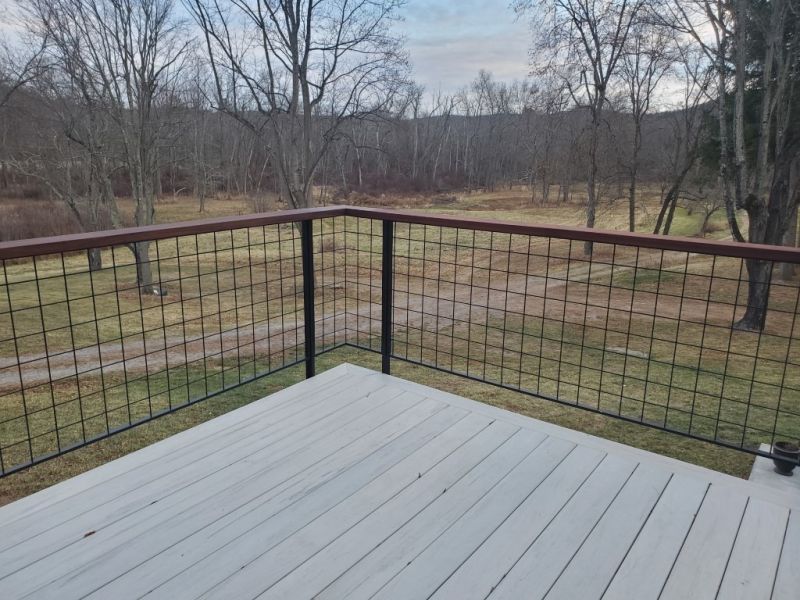
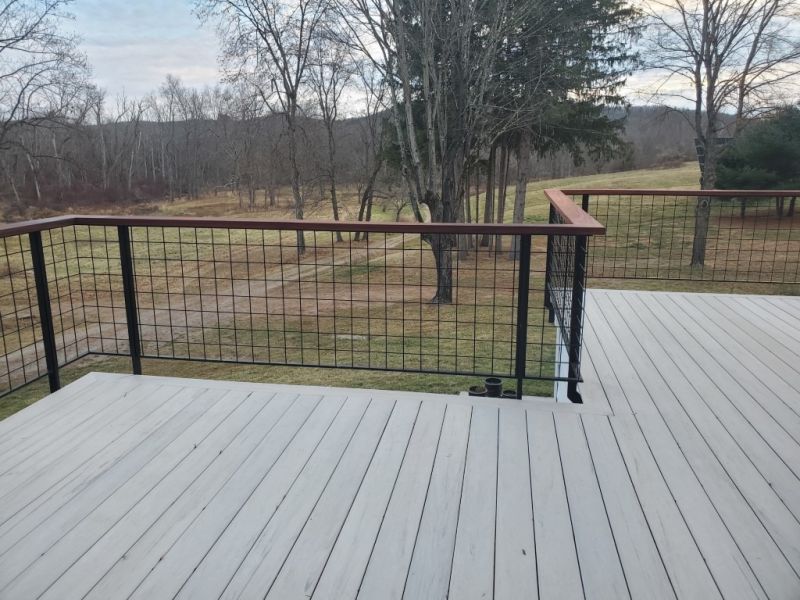
Another view of the completed deck
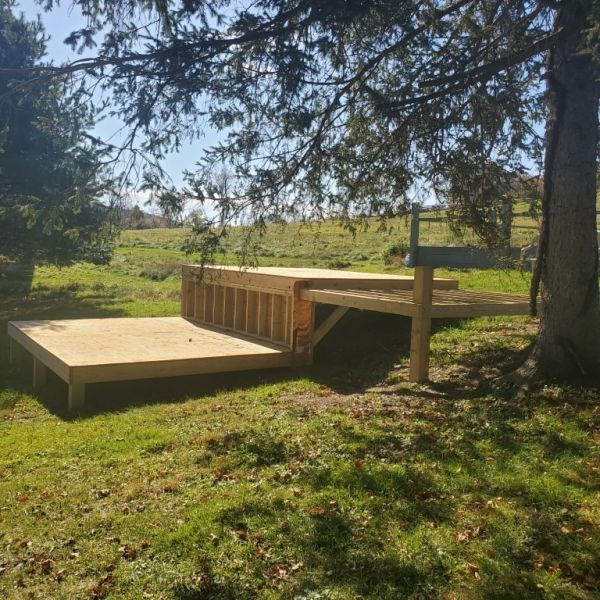
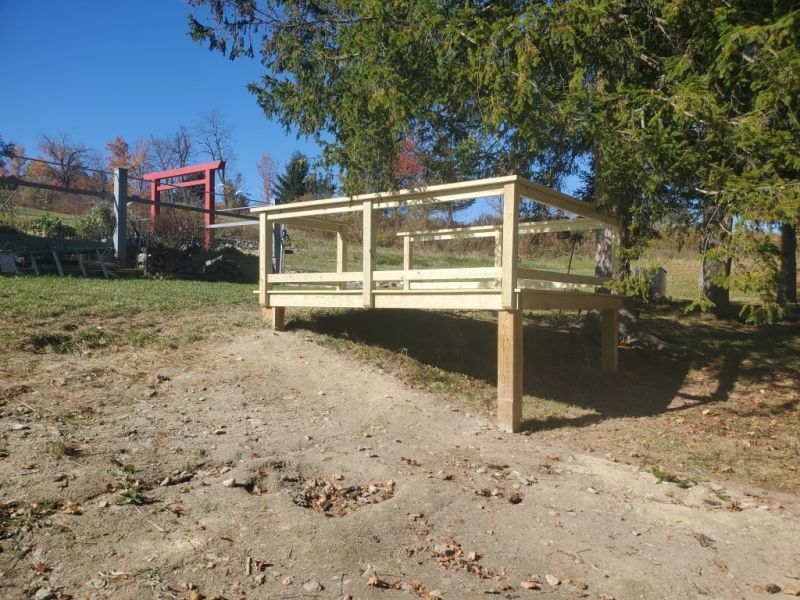
This structure was the base for what was to become a Potting/Tool shed. However, we determined that the cost of completing the shed would be much more than we could afford since the entire construction project had, by that time, exceeded our budget by about 40%. We decided to turn this structure into a platform behind our enclosed garden and also in to what we later called our southern deck.
The westernmost part of the original structure was to become the tool shed. Our revised plan was to turn this into a platform behind the garden.
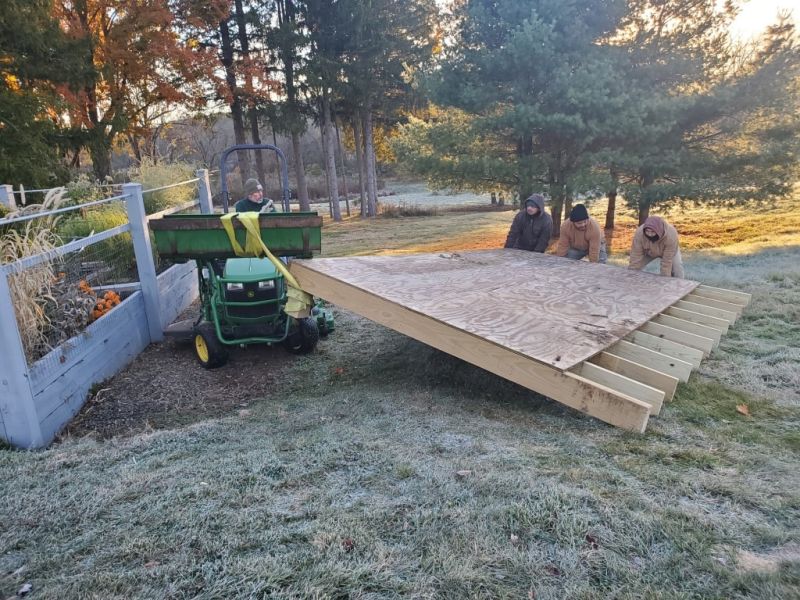
The "tool shed base was cut off the structure and began to be dragged to the garden area.
The cut-off portion was so heavy that the tractor began to tip over, and the construction workers had to sit on it to keep it level.
They were able to get the platform behind the garden.
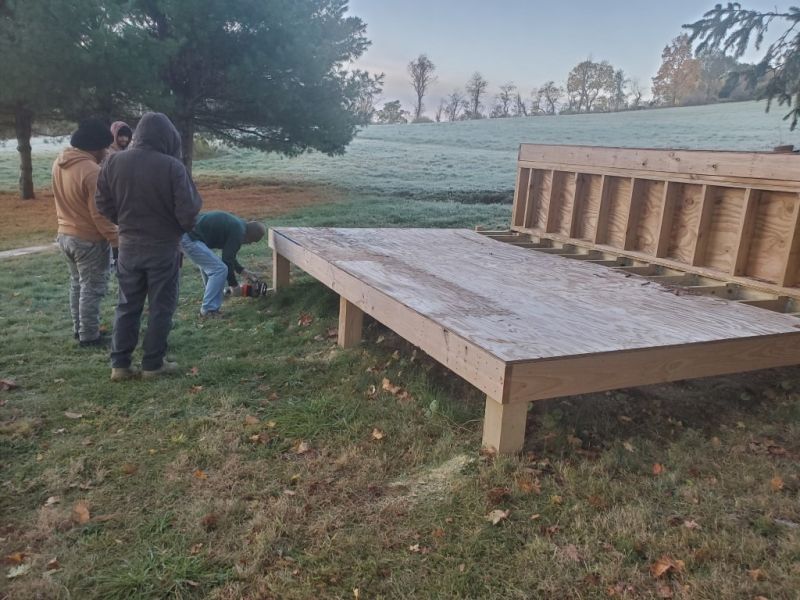
This was the base of what was originally intended to be the potting shed. We had no further use for and after curing what was planned to be its porch, it had to be taken apart and removed from the site.
This was the cut-off porch
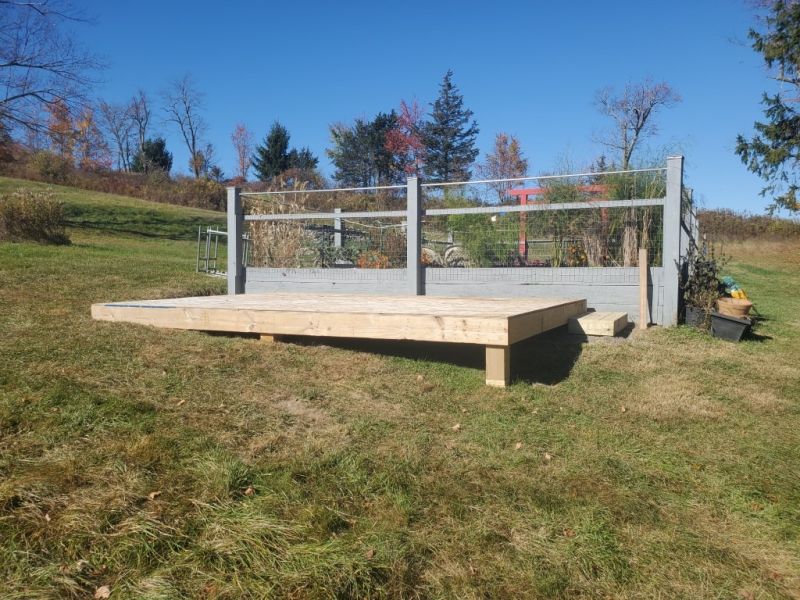
The construction workers began to turn the porch into the southern deck.
This is the southern deck nearing completion.
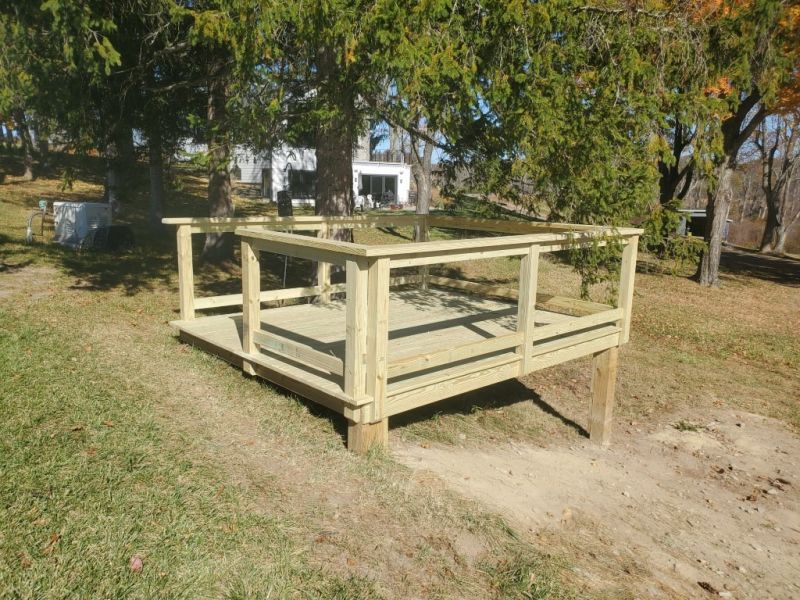
This is the completed southern deck.


